The first summer in the garden really only started once we got back from a holiday thanks to the timing. We'd been to couple of flower shows, picked up a few plants here and there, bought a bunch of cheap 'garden ready plug plant' offers, and then basically went away for two weeks and hoped that we didn't get too much sun in the meanwhile to kill them off. I'd made sure to water them in well over the weeks leading up to that, though, so I was reasonably relaxed about it.
We came back, opened the lounge curtains, and we were met with a riot of colour in the newly planted flower beds:

The bed by the pond was full of these things
So that was nice. As we started to sit outside in the sunshine, we realised that there was a view right down the side of the house from the seating area. You know, the bit where we keep the bins and is basically a corridor to the front gate. And that gate was looking a little bit the worse for wear, too. We also had an idea that we wanted to grow some climbers, so I came up with an idea.
What I decided to do was to put up some posts that I could tack some mesh to. I'd put these in front of the fence, and come around the top by the house so the posts and the mesh would screen off the path. The mesh didn't need to be anything special, so that was just a case of finding sufficient length for low cost somewhere online. The posts, though, I wanted to be a little bit smarter about.
Most of the time when you see landscapers putting in posts, they dig a hole, shove the upright post into it, dump in a bag of postcrete, and water it. That absolutely sets my blood boiling, that does. It's very typical short-term thinking in that yeah, it'll last a good few years. But what happens when that post rots? Well, suddenly you're a lot older and you've got to dig a concrete plug out of the ground. Doesn't sound like much fun to me.
So instead, I went for the option of using spike post holders for the base of the post. They weren't taking any serious load, and I figured they'd be easy to move around and replace in the future if needs be.
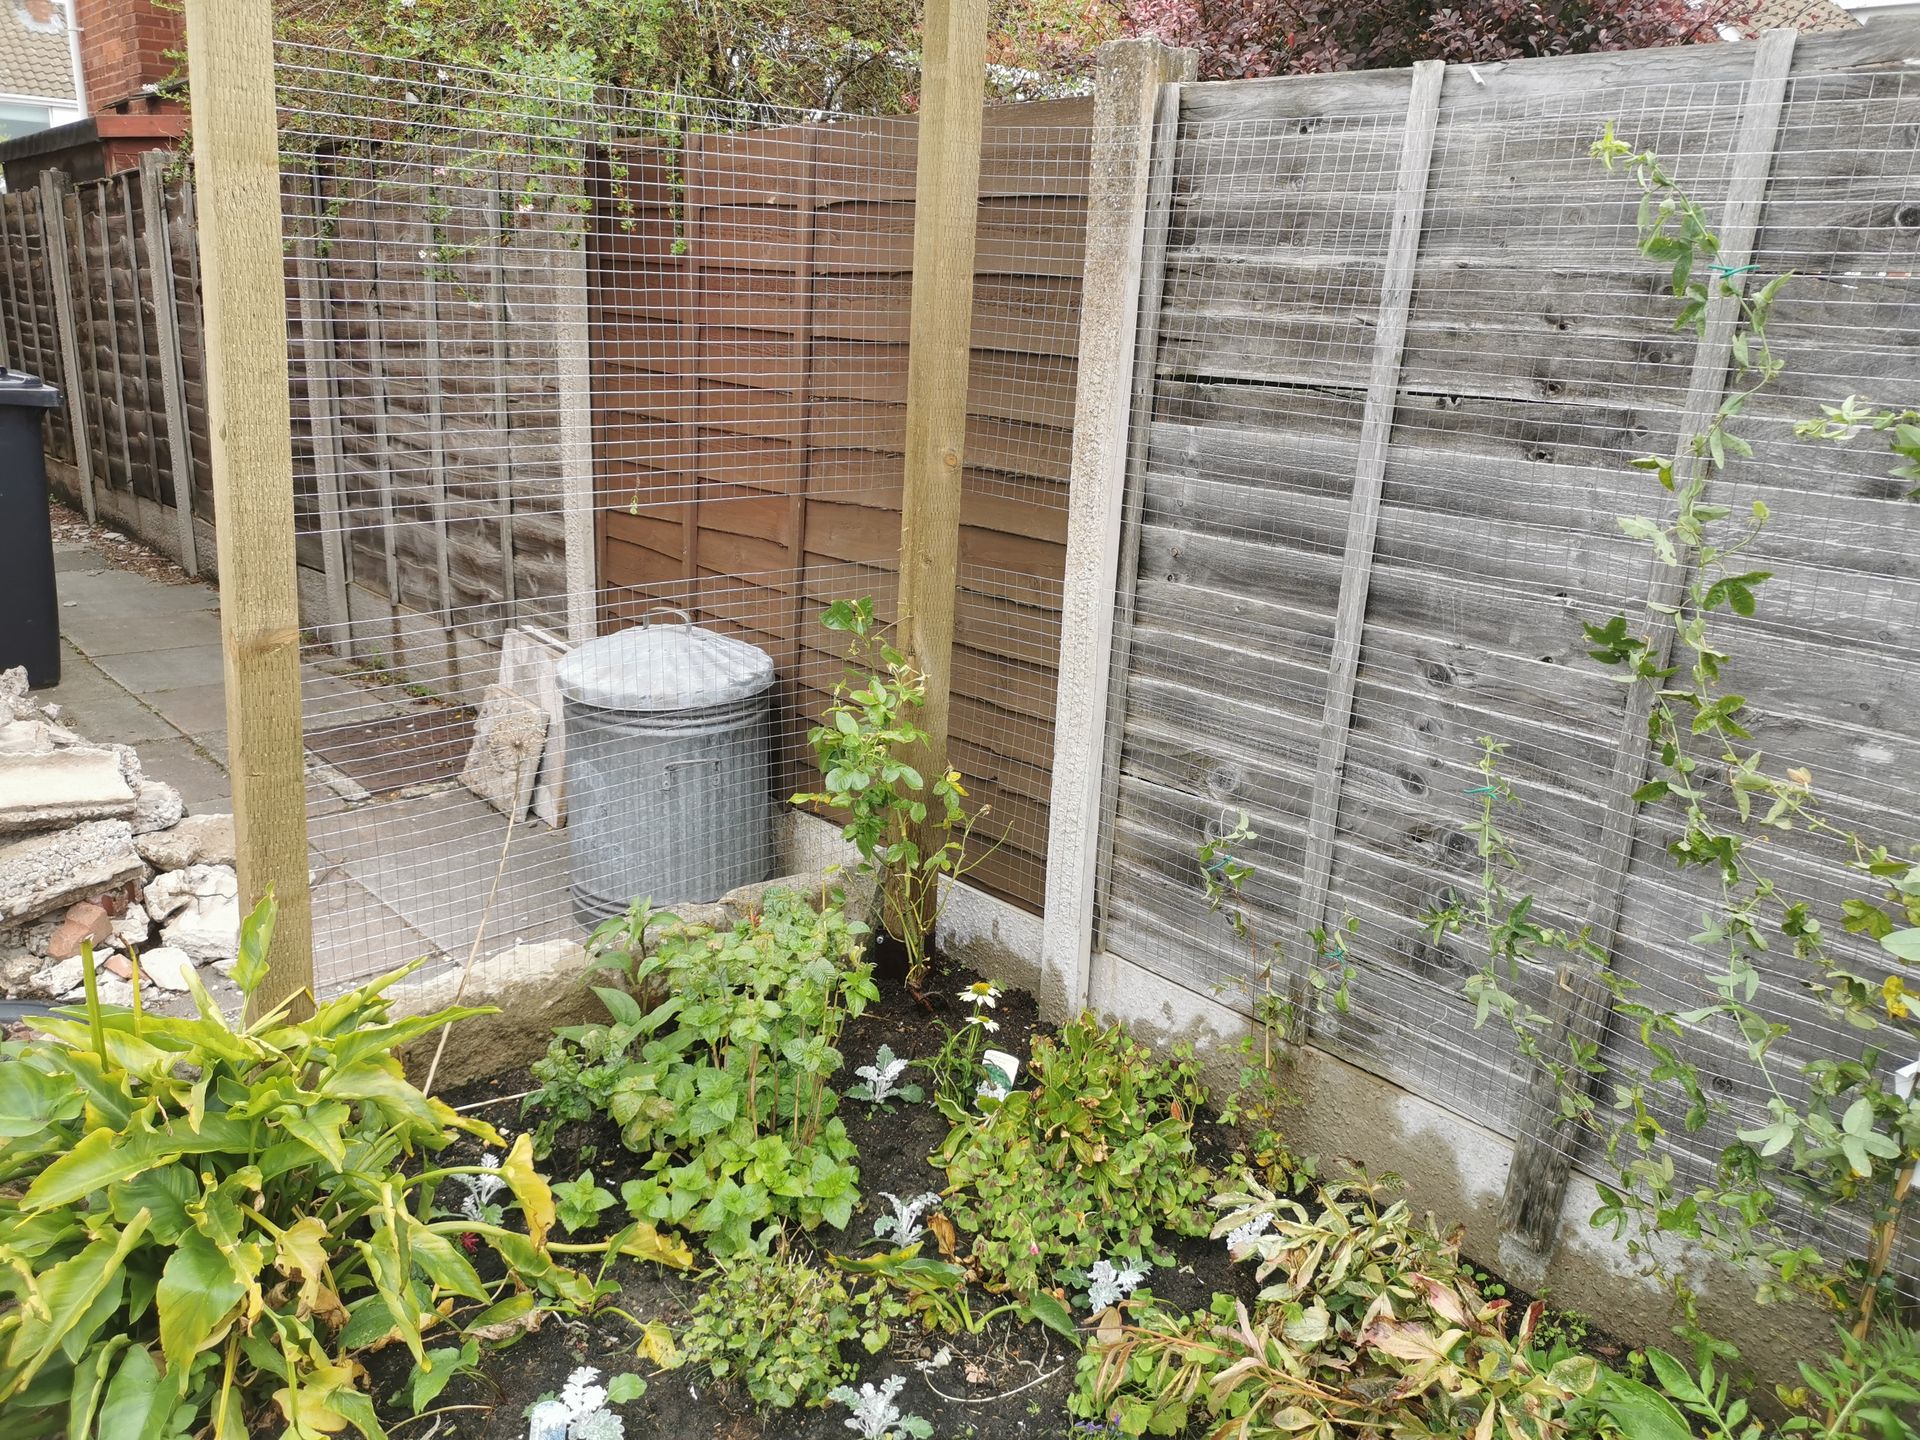
Here's the corner with the screen in place - and yes, I know you can still see the bin
As you can see, it's pretty simple stuff - hammer in the spike, put the post into the spike, tighten the bolts, and then tack the mesh to the back with some little u-shaped nails. Then all you've got to do is grow some climbers up them and in time you'll have a lovely flowering screen to hide everything away.
In the meanwhile, the rest of the planting and the pond were starting to pay dividends:
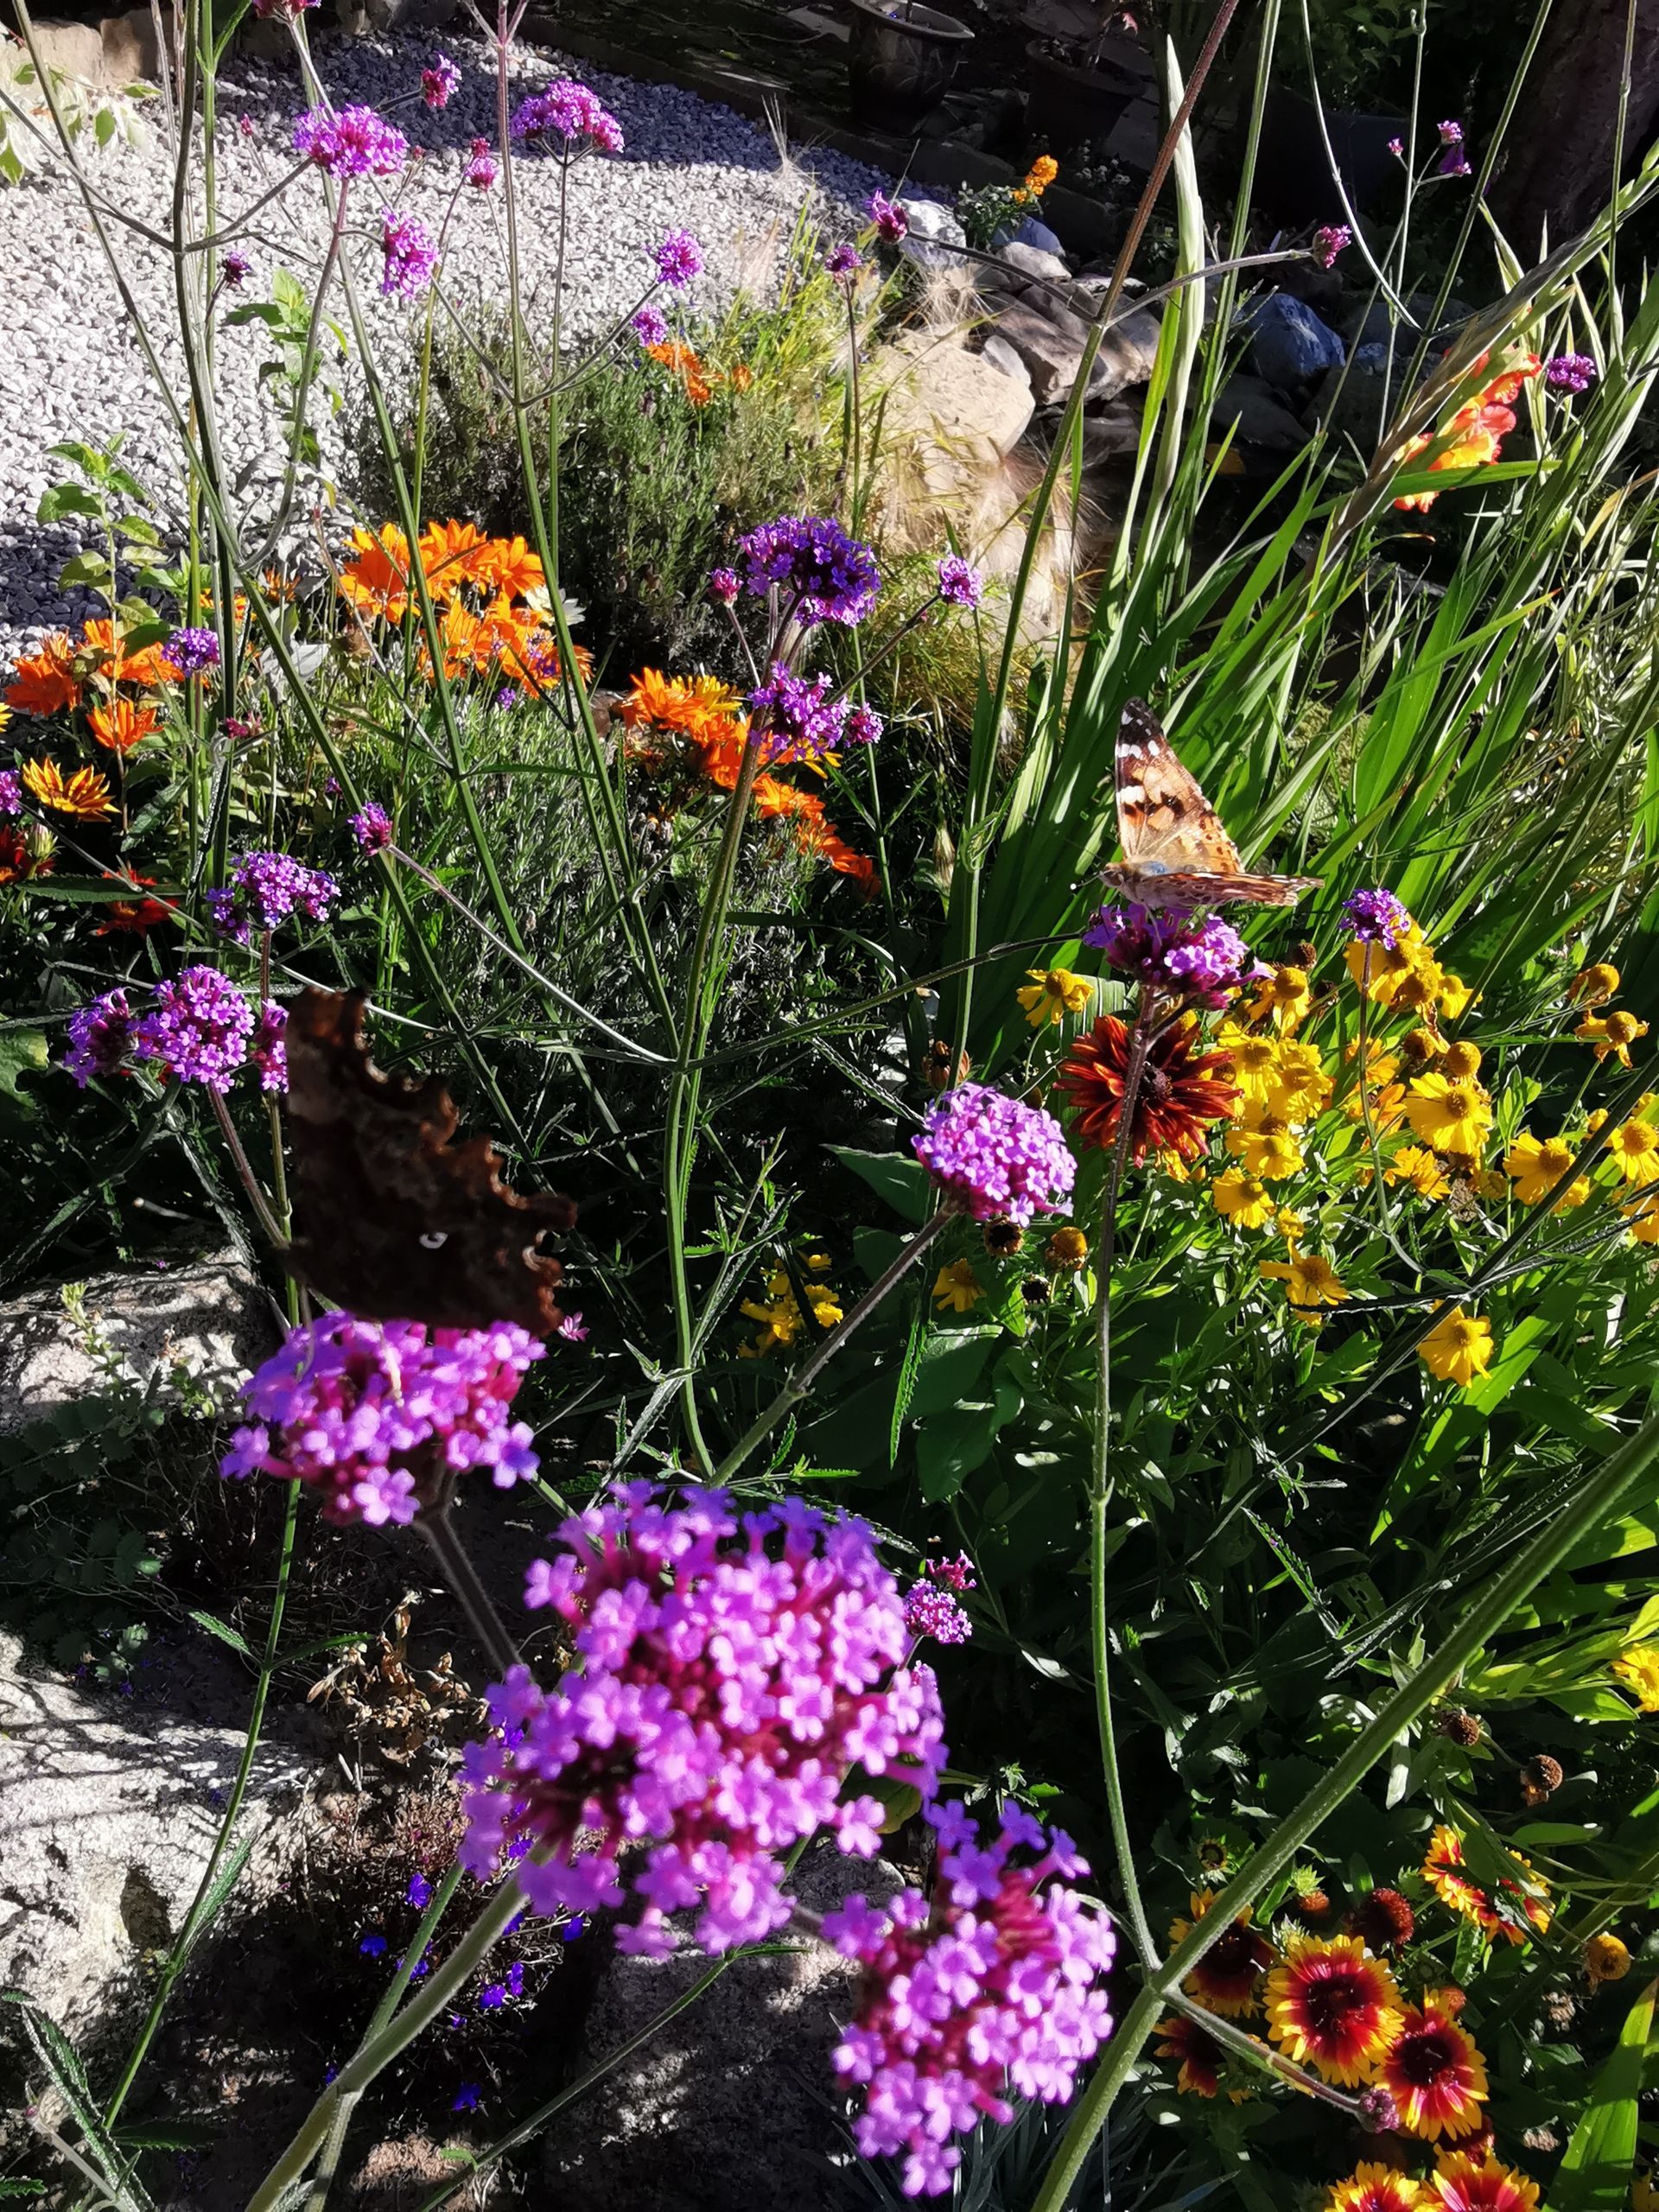
A butterfly enjoying the verbena
We also had other kinds of butterflies showing up:
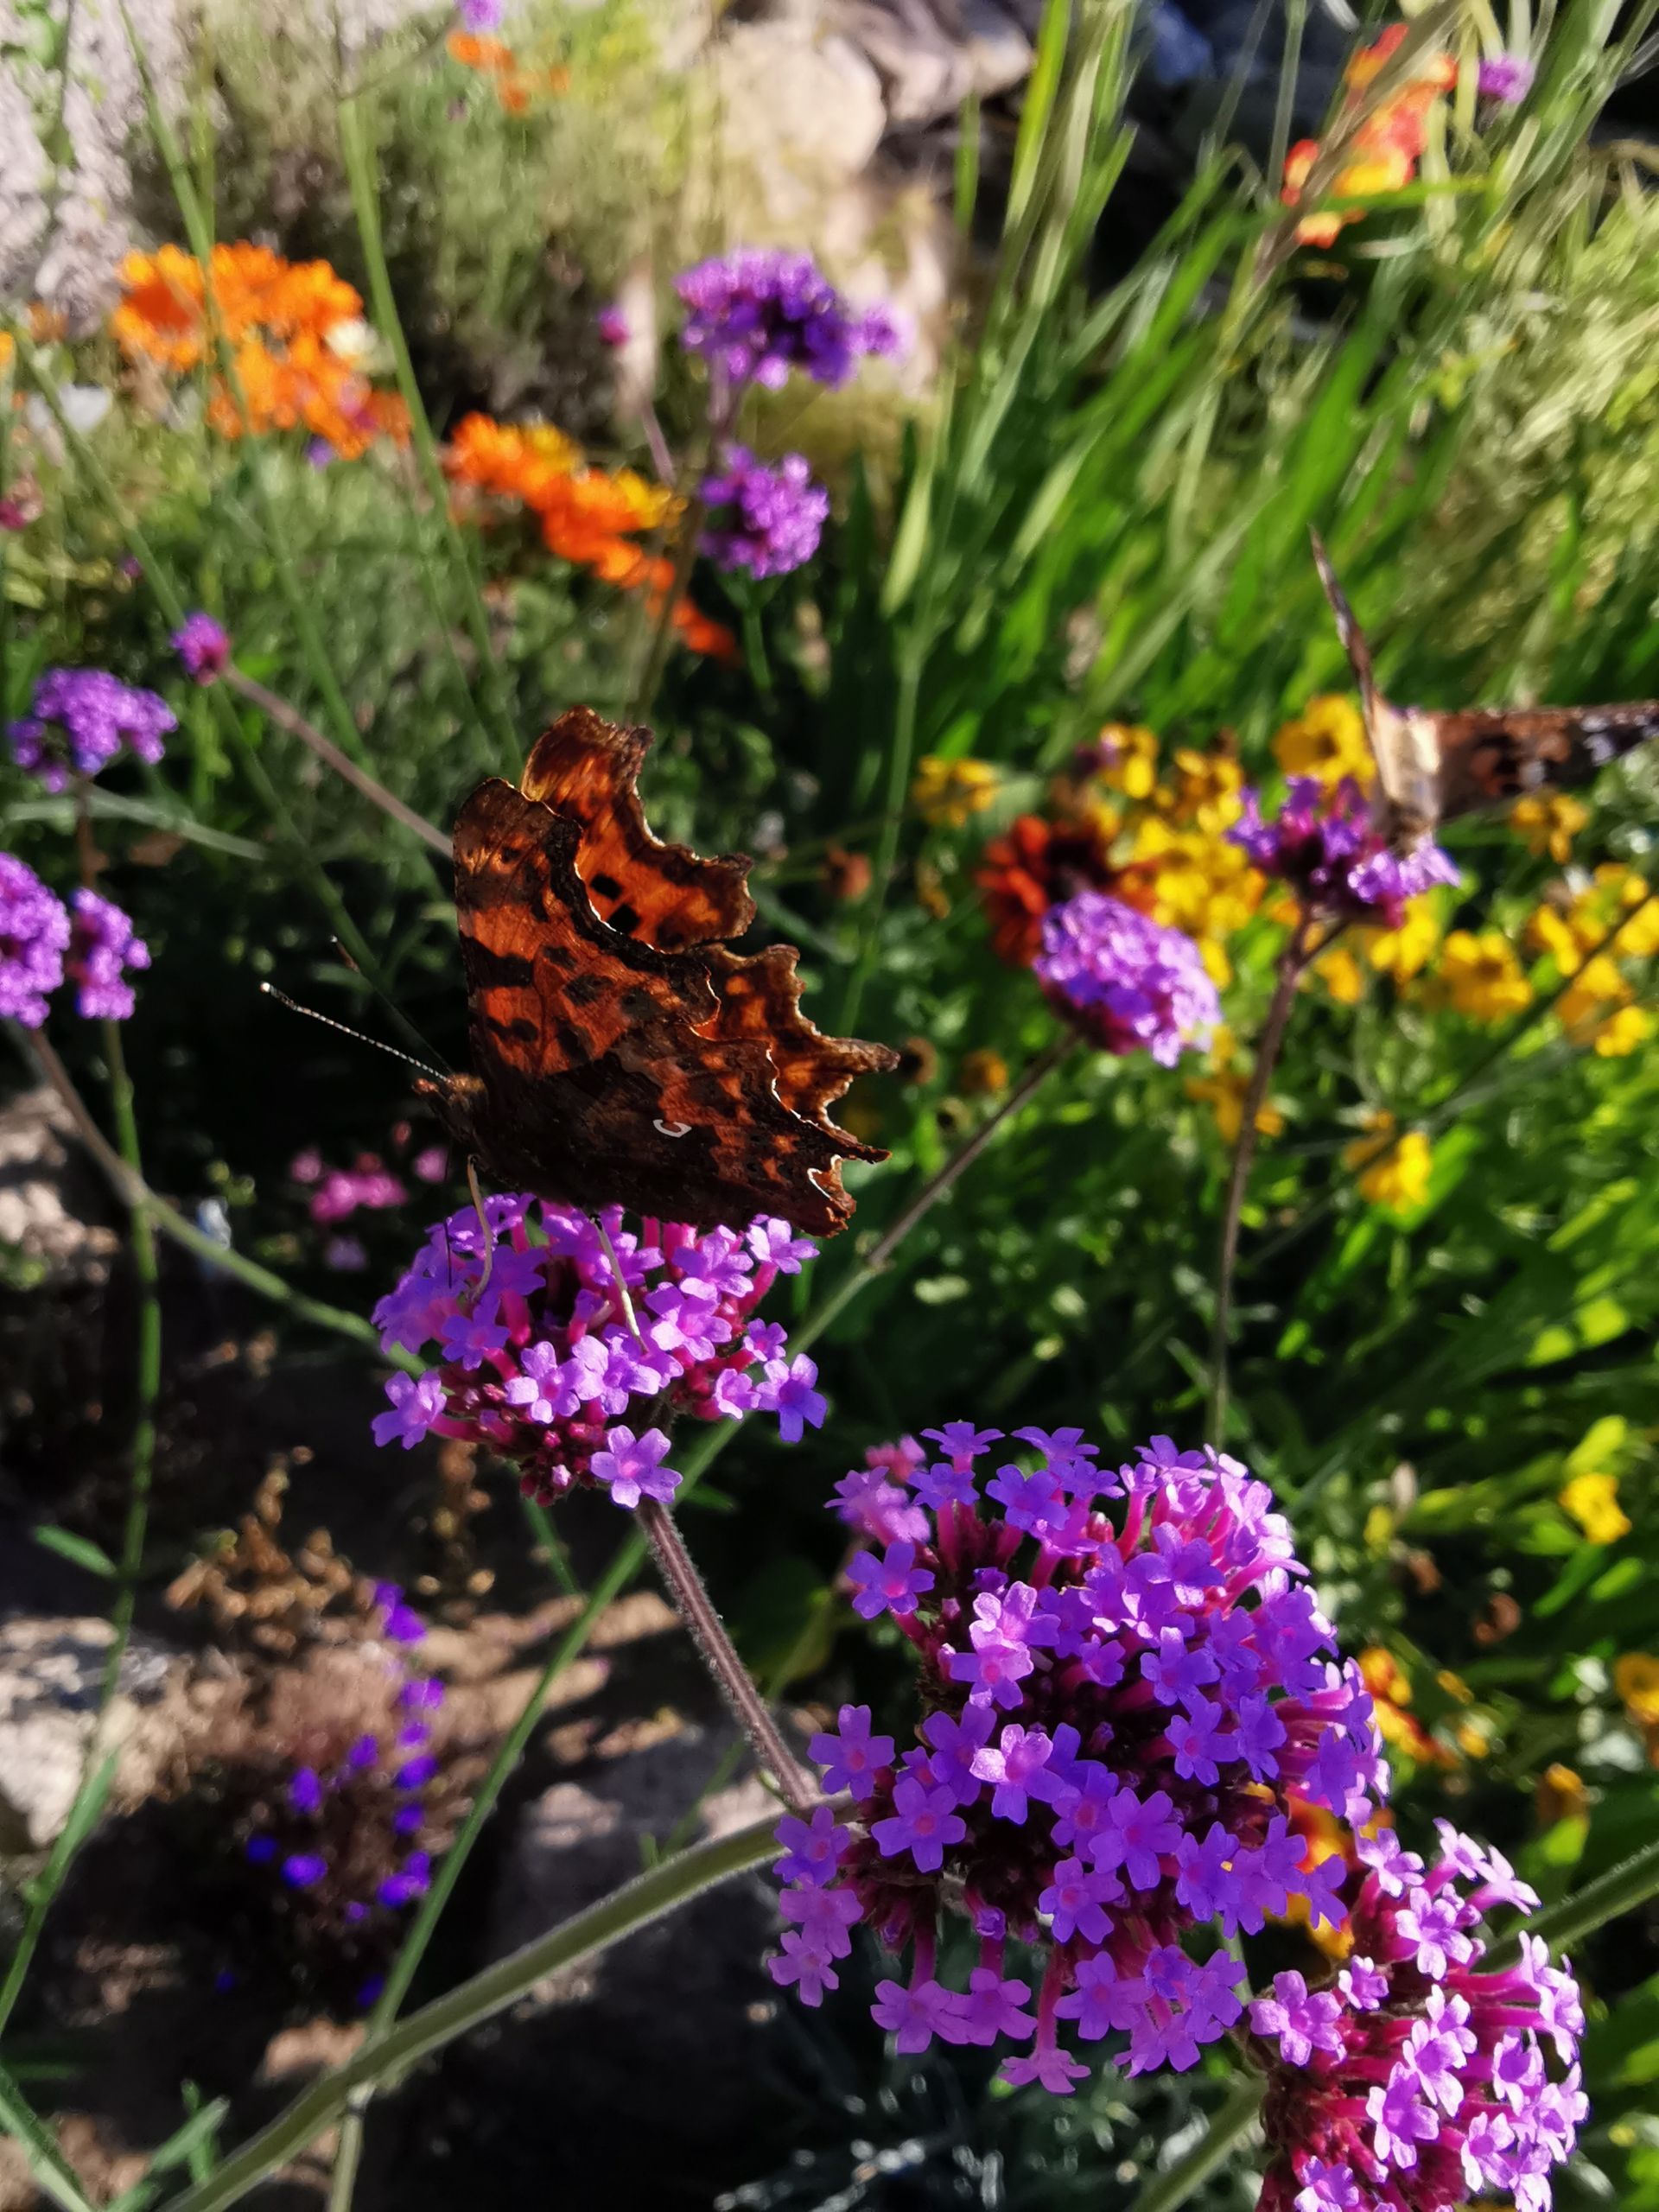
A pair of comma butterflies
We had a visitor in the pond, too:
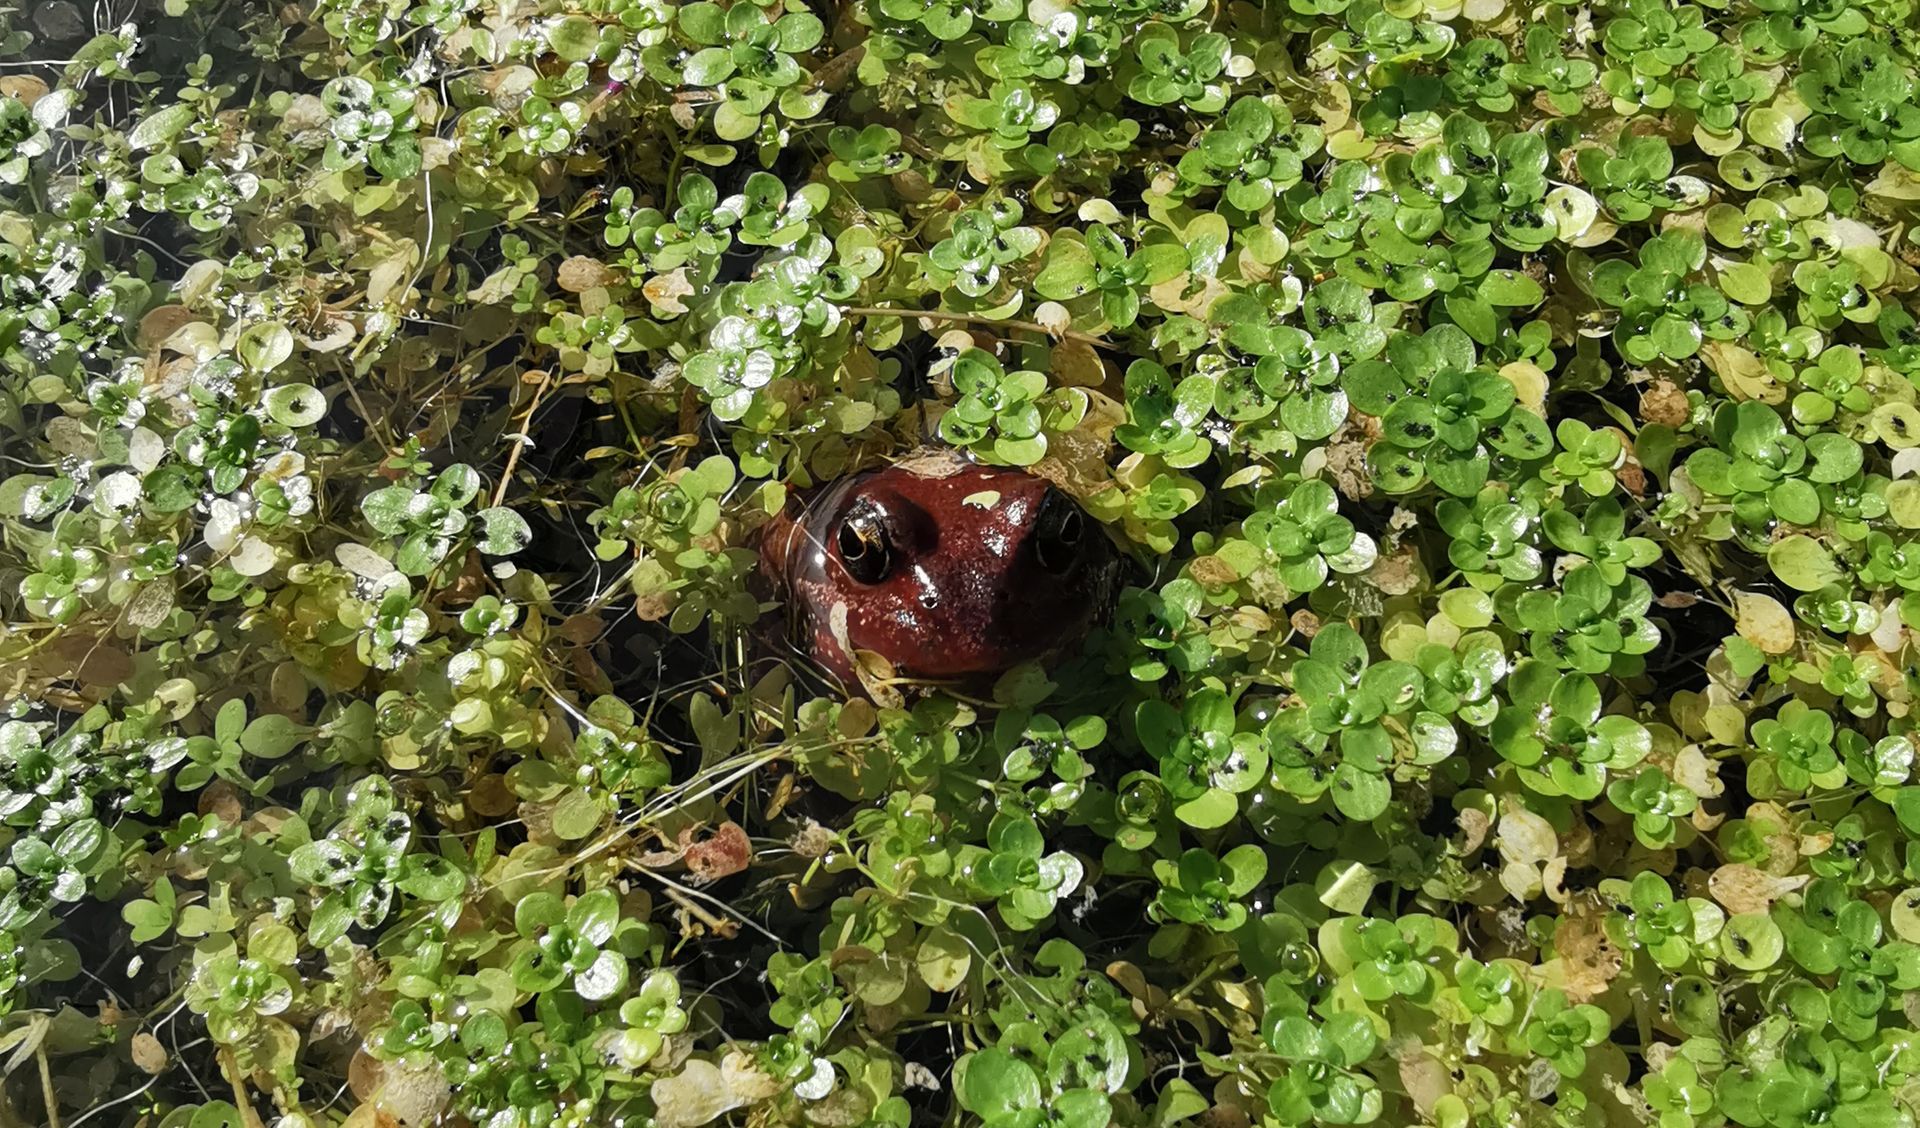
Here's the froggy, hiding in the floating plants
That was about it for the first year, really. By this point, we were getting into October and things were getting colder so the rest of the year was mostly spent enjoying what was there and then cutting things back over winter where I thought it was necessary. I was probably wrong, but the garden forgave me.
It wasn't until the next March that I started to do anything more than maintenance in the garden - but factors outside my control were about to intervene in a pretty major way...
Published
Last Post: Deuteropathic gardening
Next Post: A global what now?
How about sharing this article on your favorite social media network if you've found it interesting? For feedback, please get in touch via Twitter or Instagram