Hot damn, that last post was over a year ago. Time has basically flown by, hasn't it? Who would have thought that I could possibly get distracted and forget to post on here on anything close to a regular basis?
Anyway, last time out I was talking about adding in some vertical posts, and hinted that I was going to do something with them. And I didn't get distracted then, and actually managed to deliver what I was intending to do.
What I was intending with the uprights was to have a better separation between areas in the garden, but I didn't want a hedge because that just meant more maintenance in the future. I also didn't want it to be anything like a wall as I wanted it to have a bit of height and a full-height wall in the middle of the garden would look a bit odd, would block out light, and I didn't want to feel too enclosed or cut-off. I also wanted to have something for the rose in the planter to grow up, and potentially to have even more available space for other climbing plants.
The solution was easy, given I had some honking great wooden posts: run some cable through some eyelets and create a climber-friendly framework.
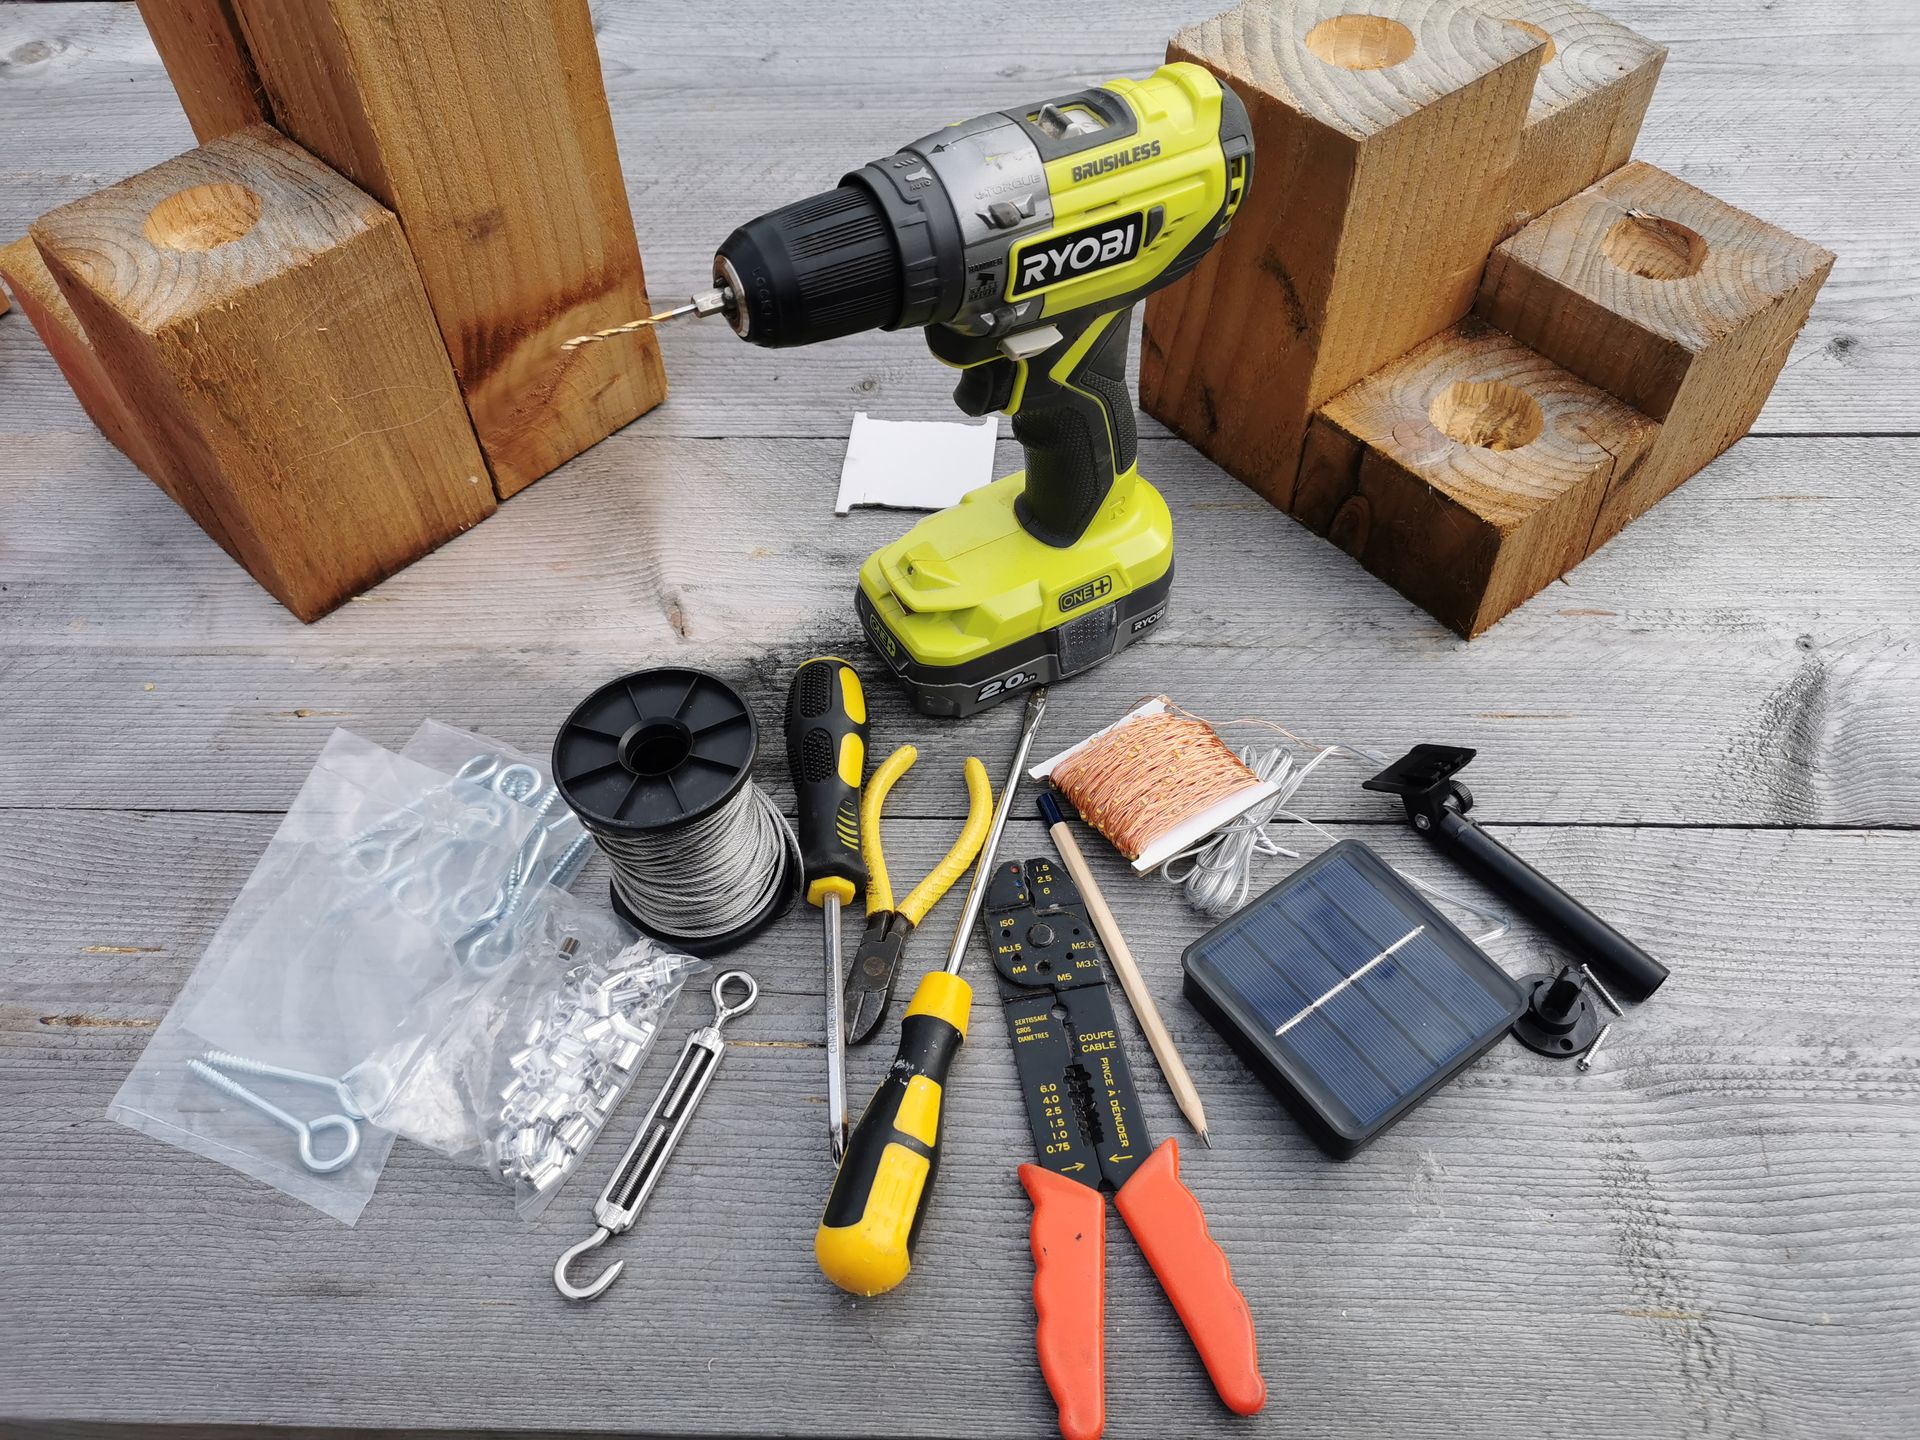
Gathering the tools and the building blocks for the task
First, we decide where we'll put our eyelets and we'll measure to make sure that they're horizontally centred and regularly spaced. I knocked up a template from some cardboard to do that because I'm fundamentally lazy and I know I'd be putting a lot of these eyelets in place. Measure once, mark the template, and then just use the template again and again. Then, we pre-drill the holes and screw in the eyelets.
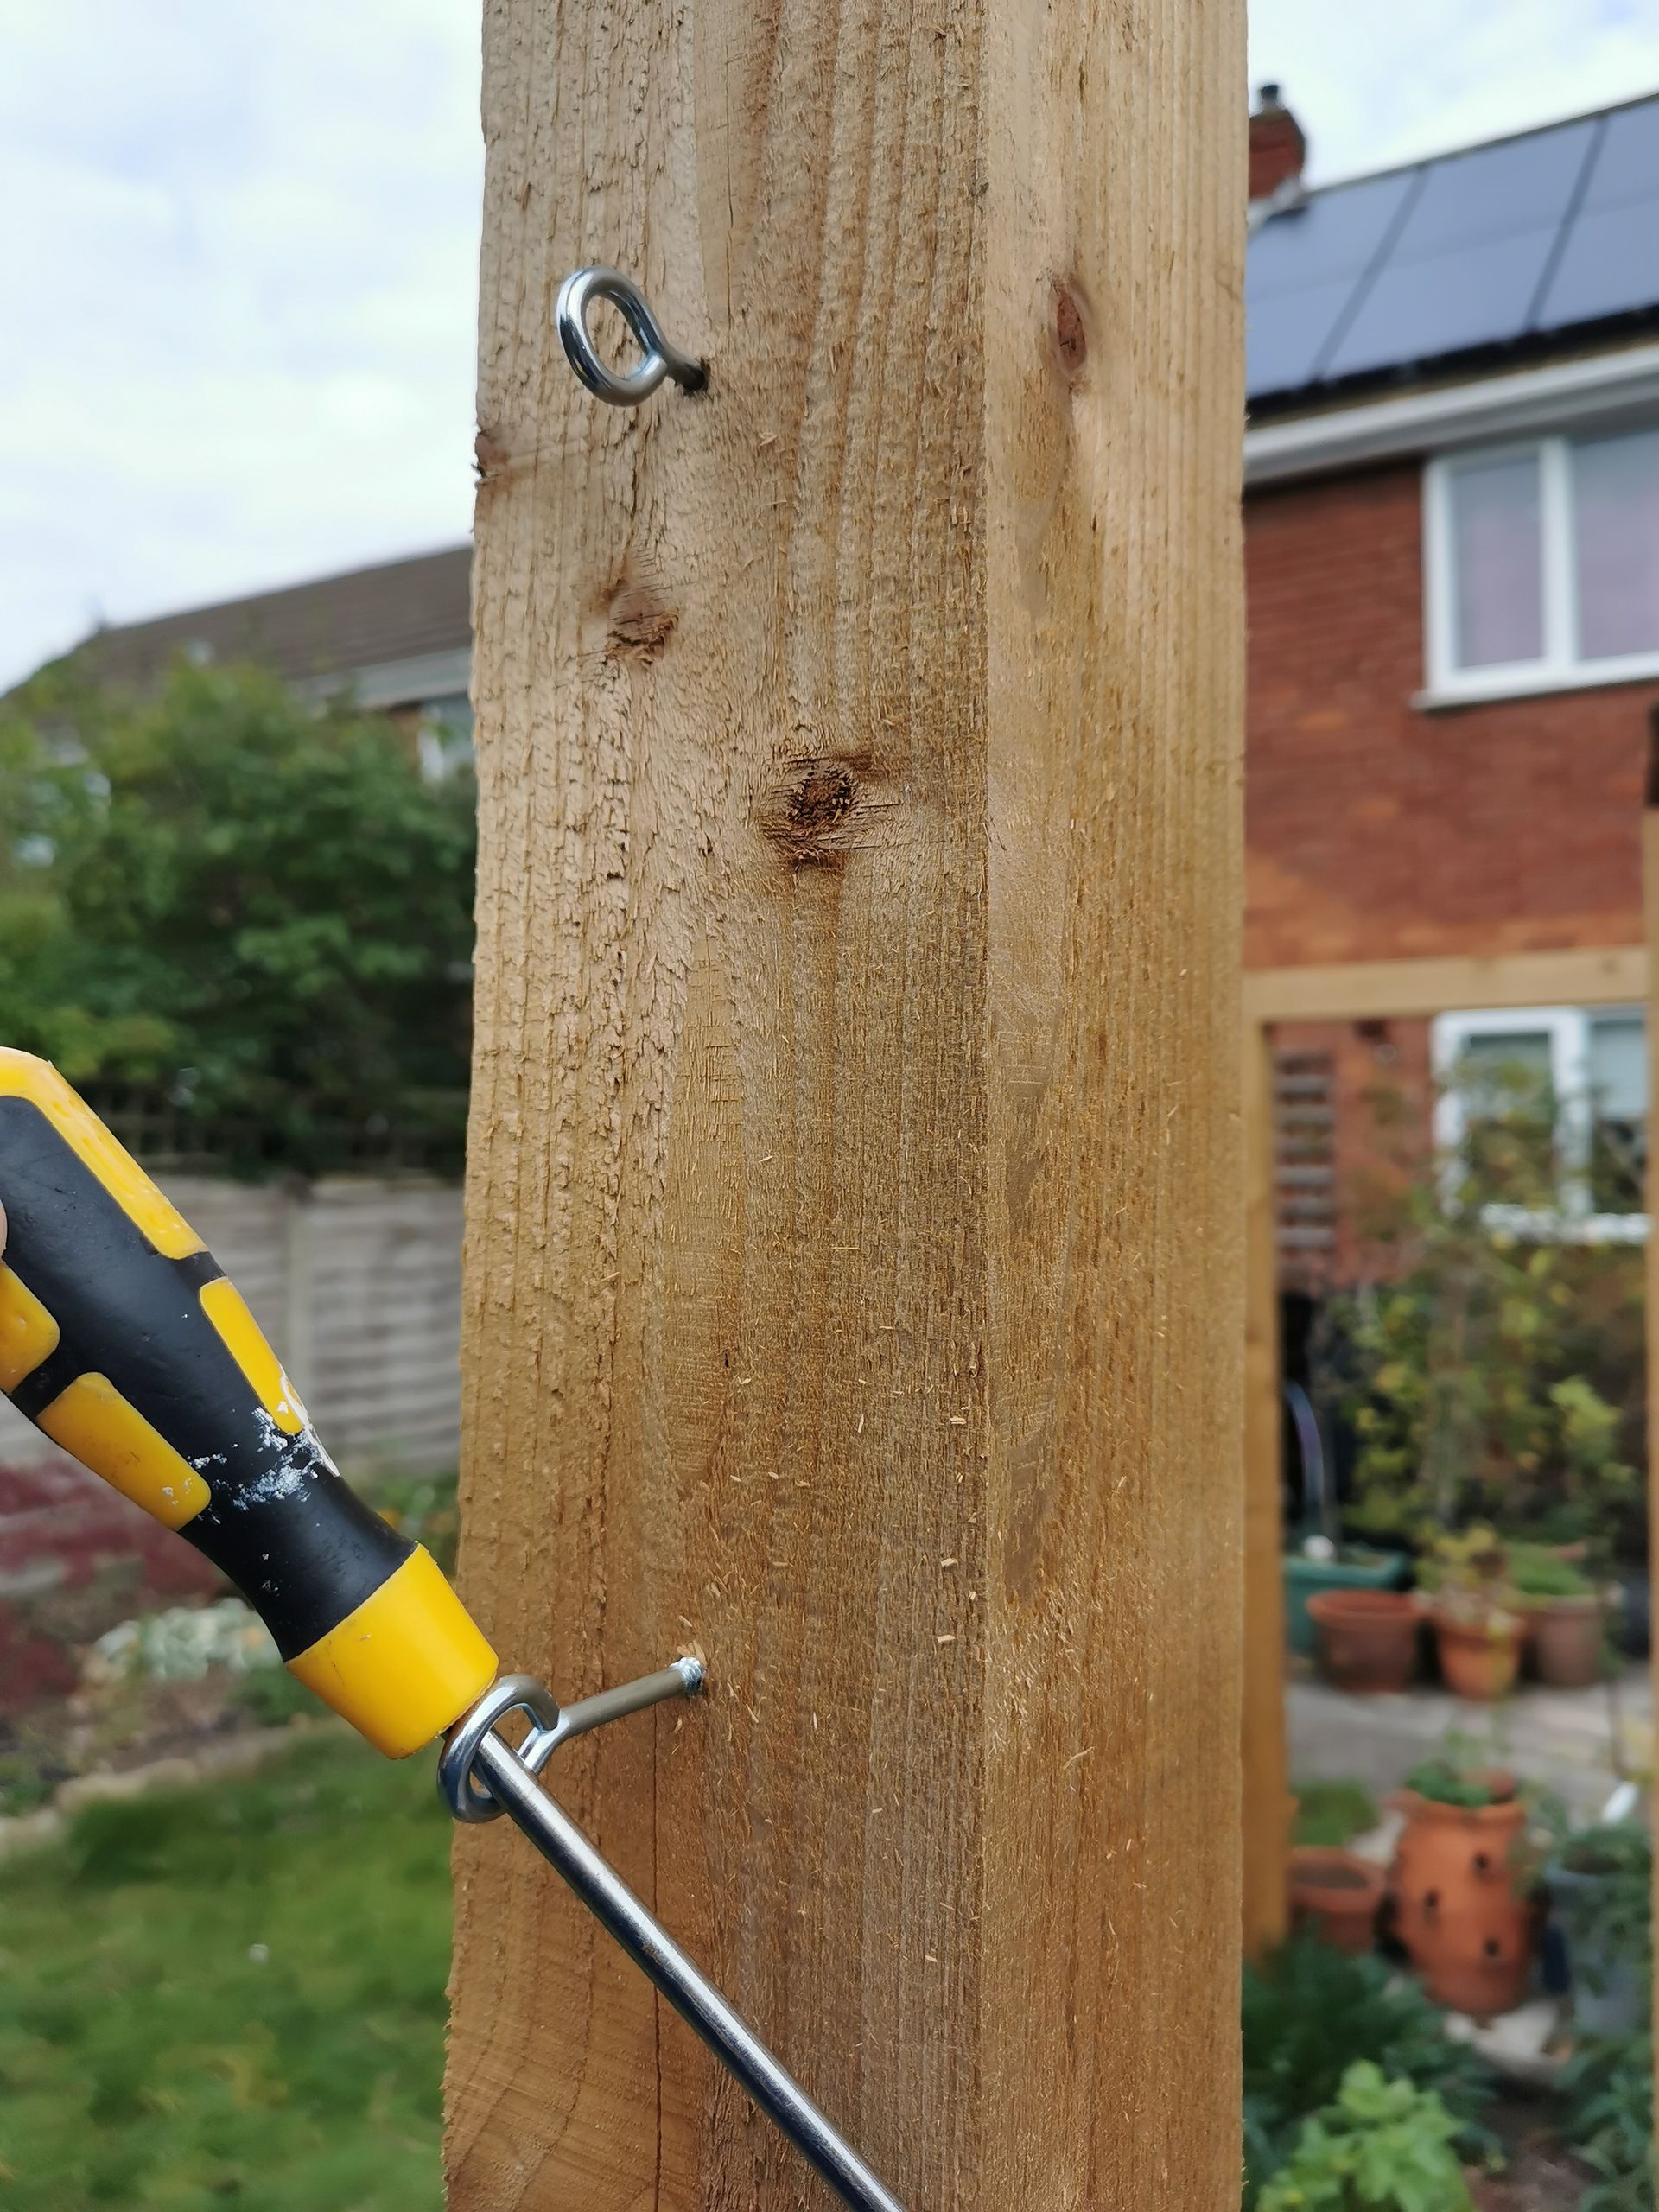
You can use a long-handled screwdriver to increase the torque when twisting the eyelets into the wood
Pass the cable through the eyelets in a nice pattern. You'll want to leave extra cable at either end so they can be secured.
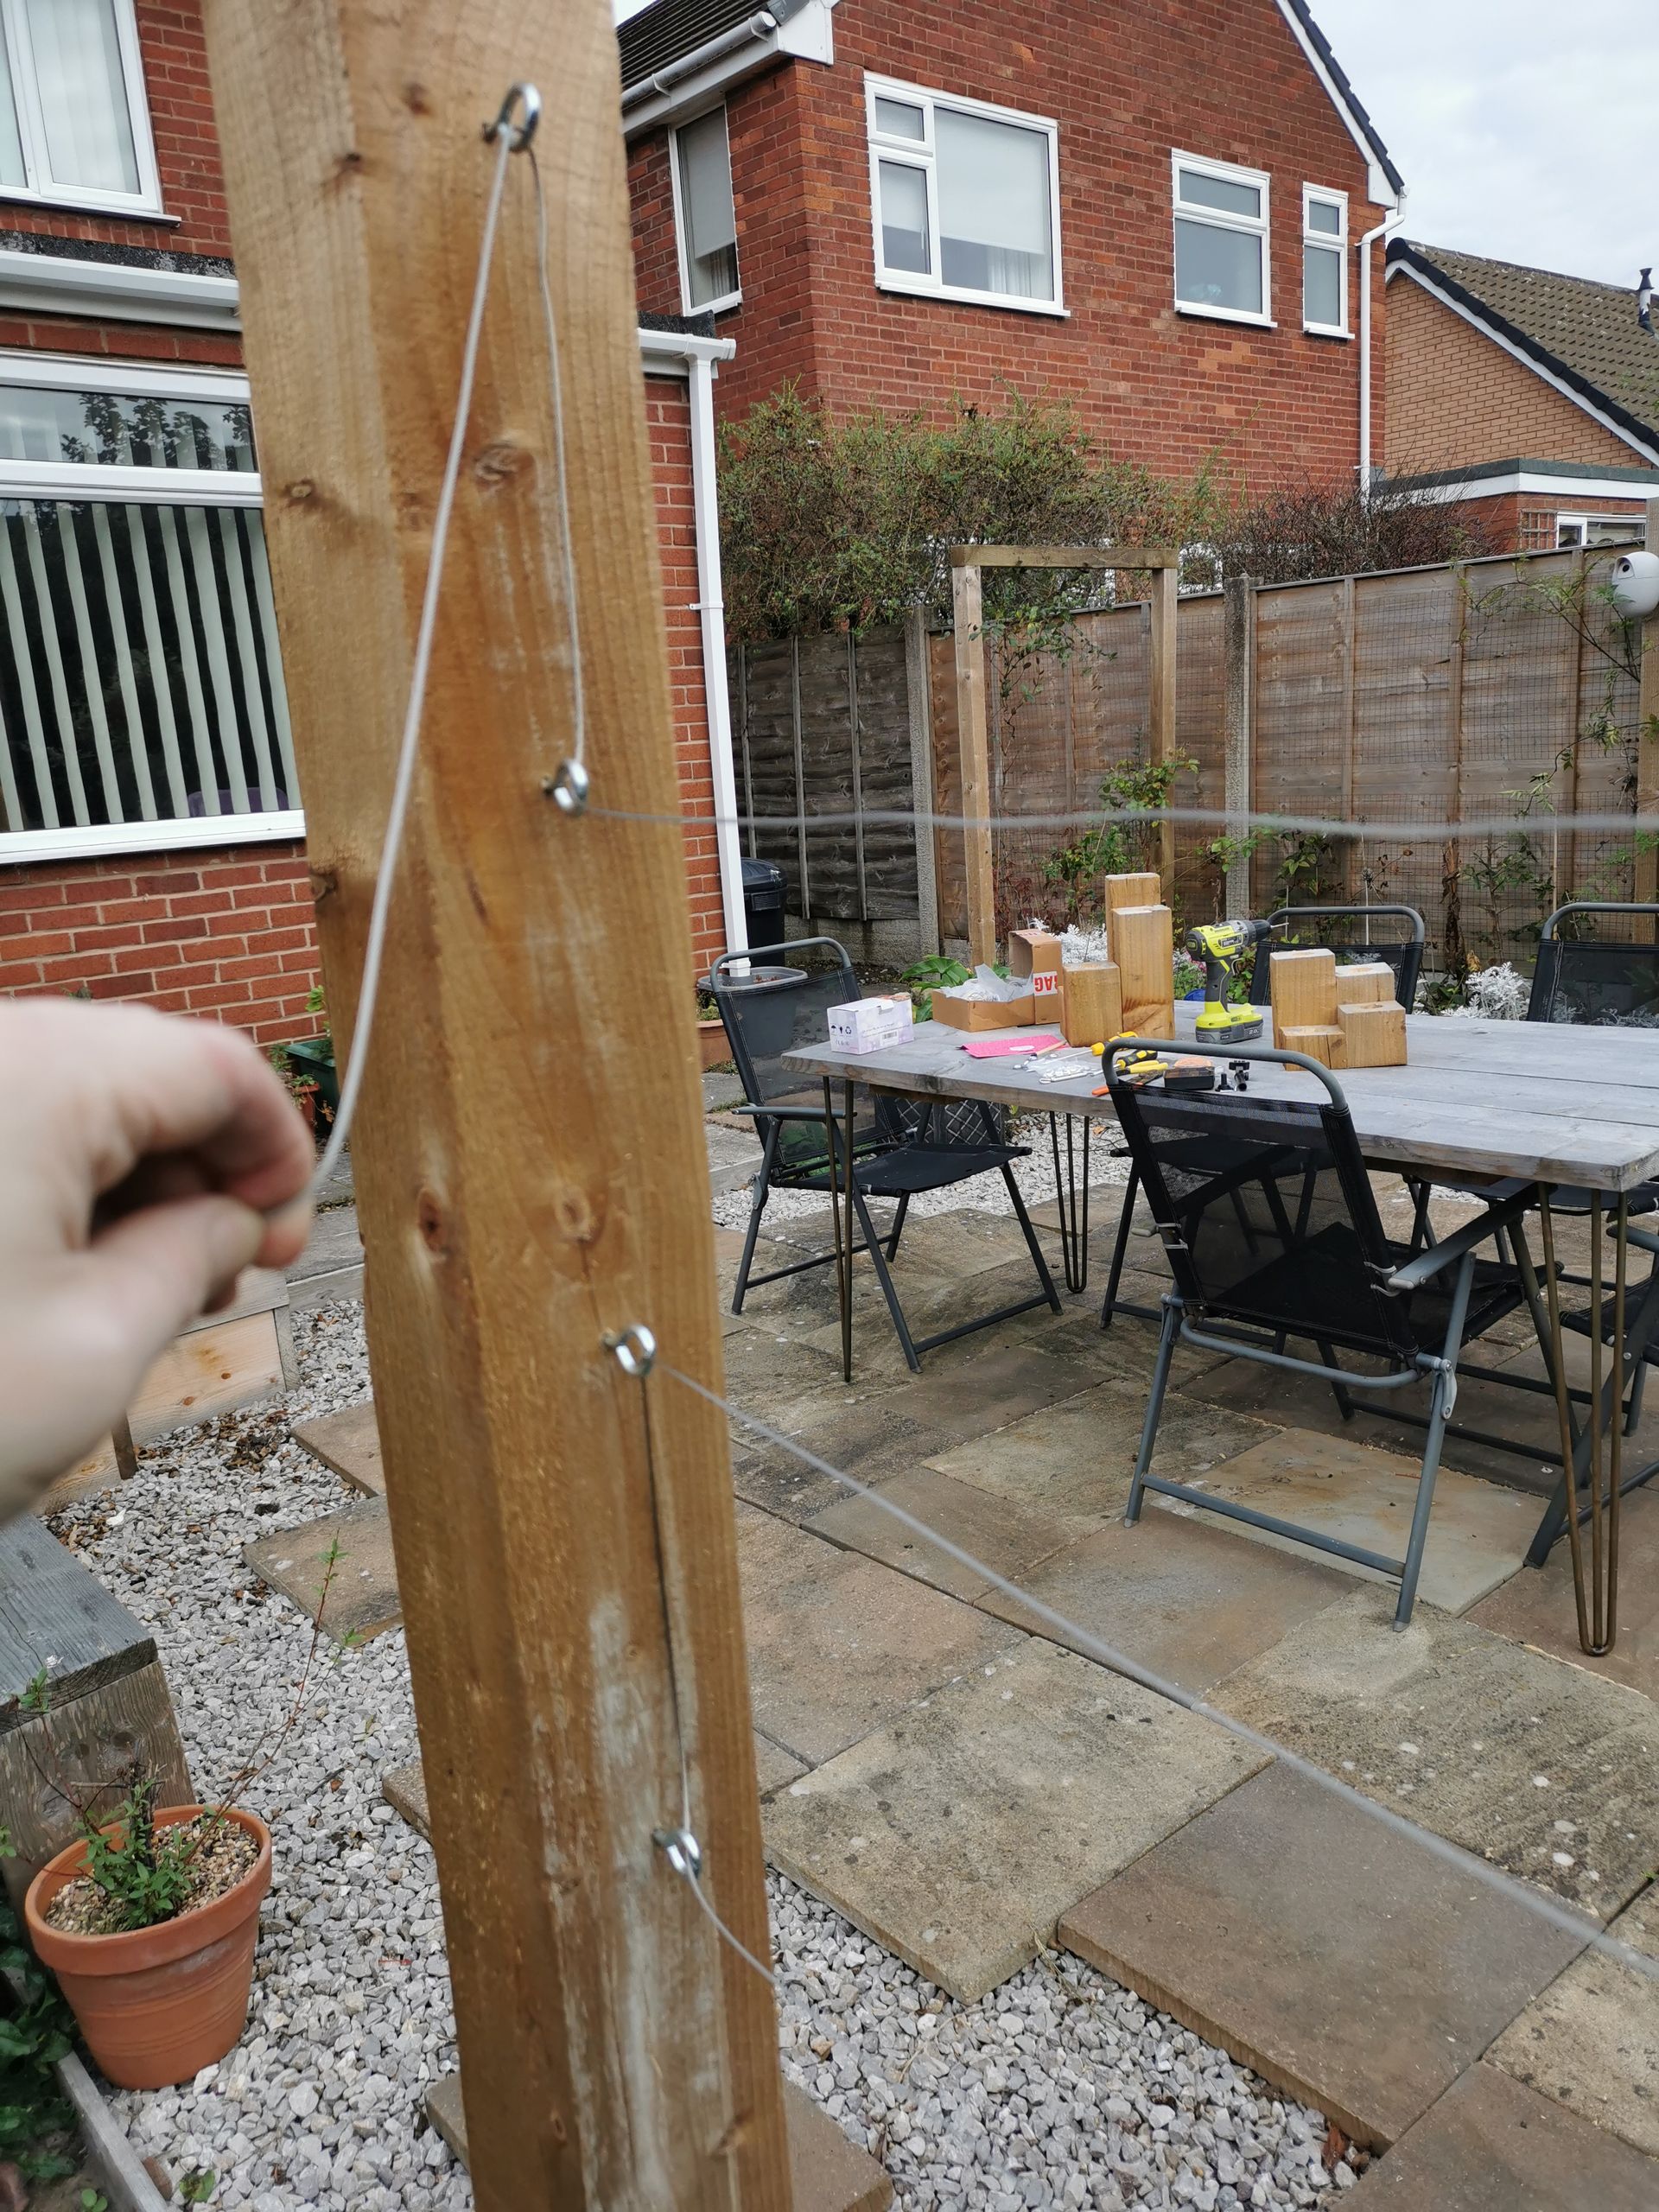
I went horizontally, then down and back across the other way
For the one at the top, we'll attach it directly like this:
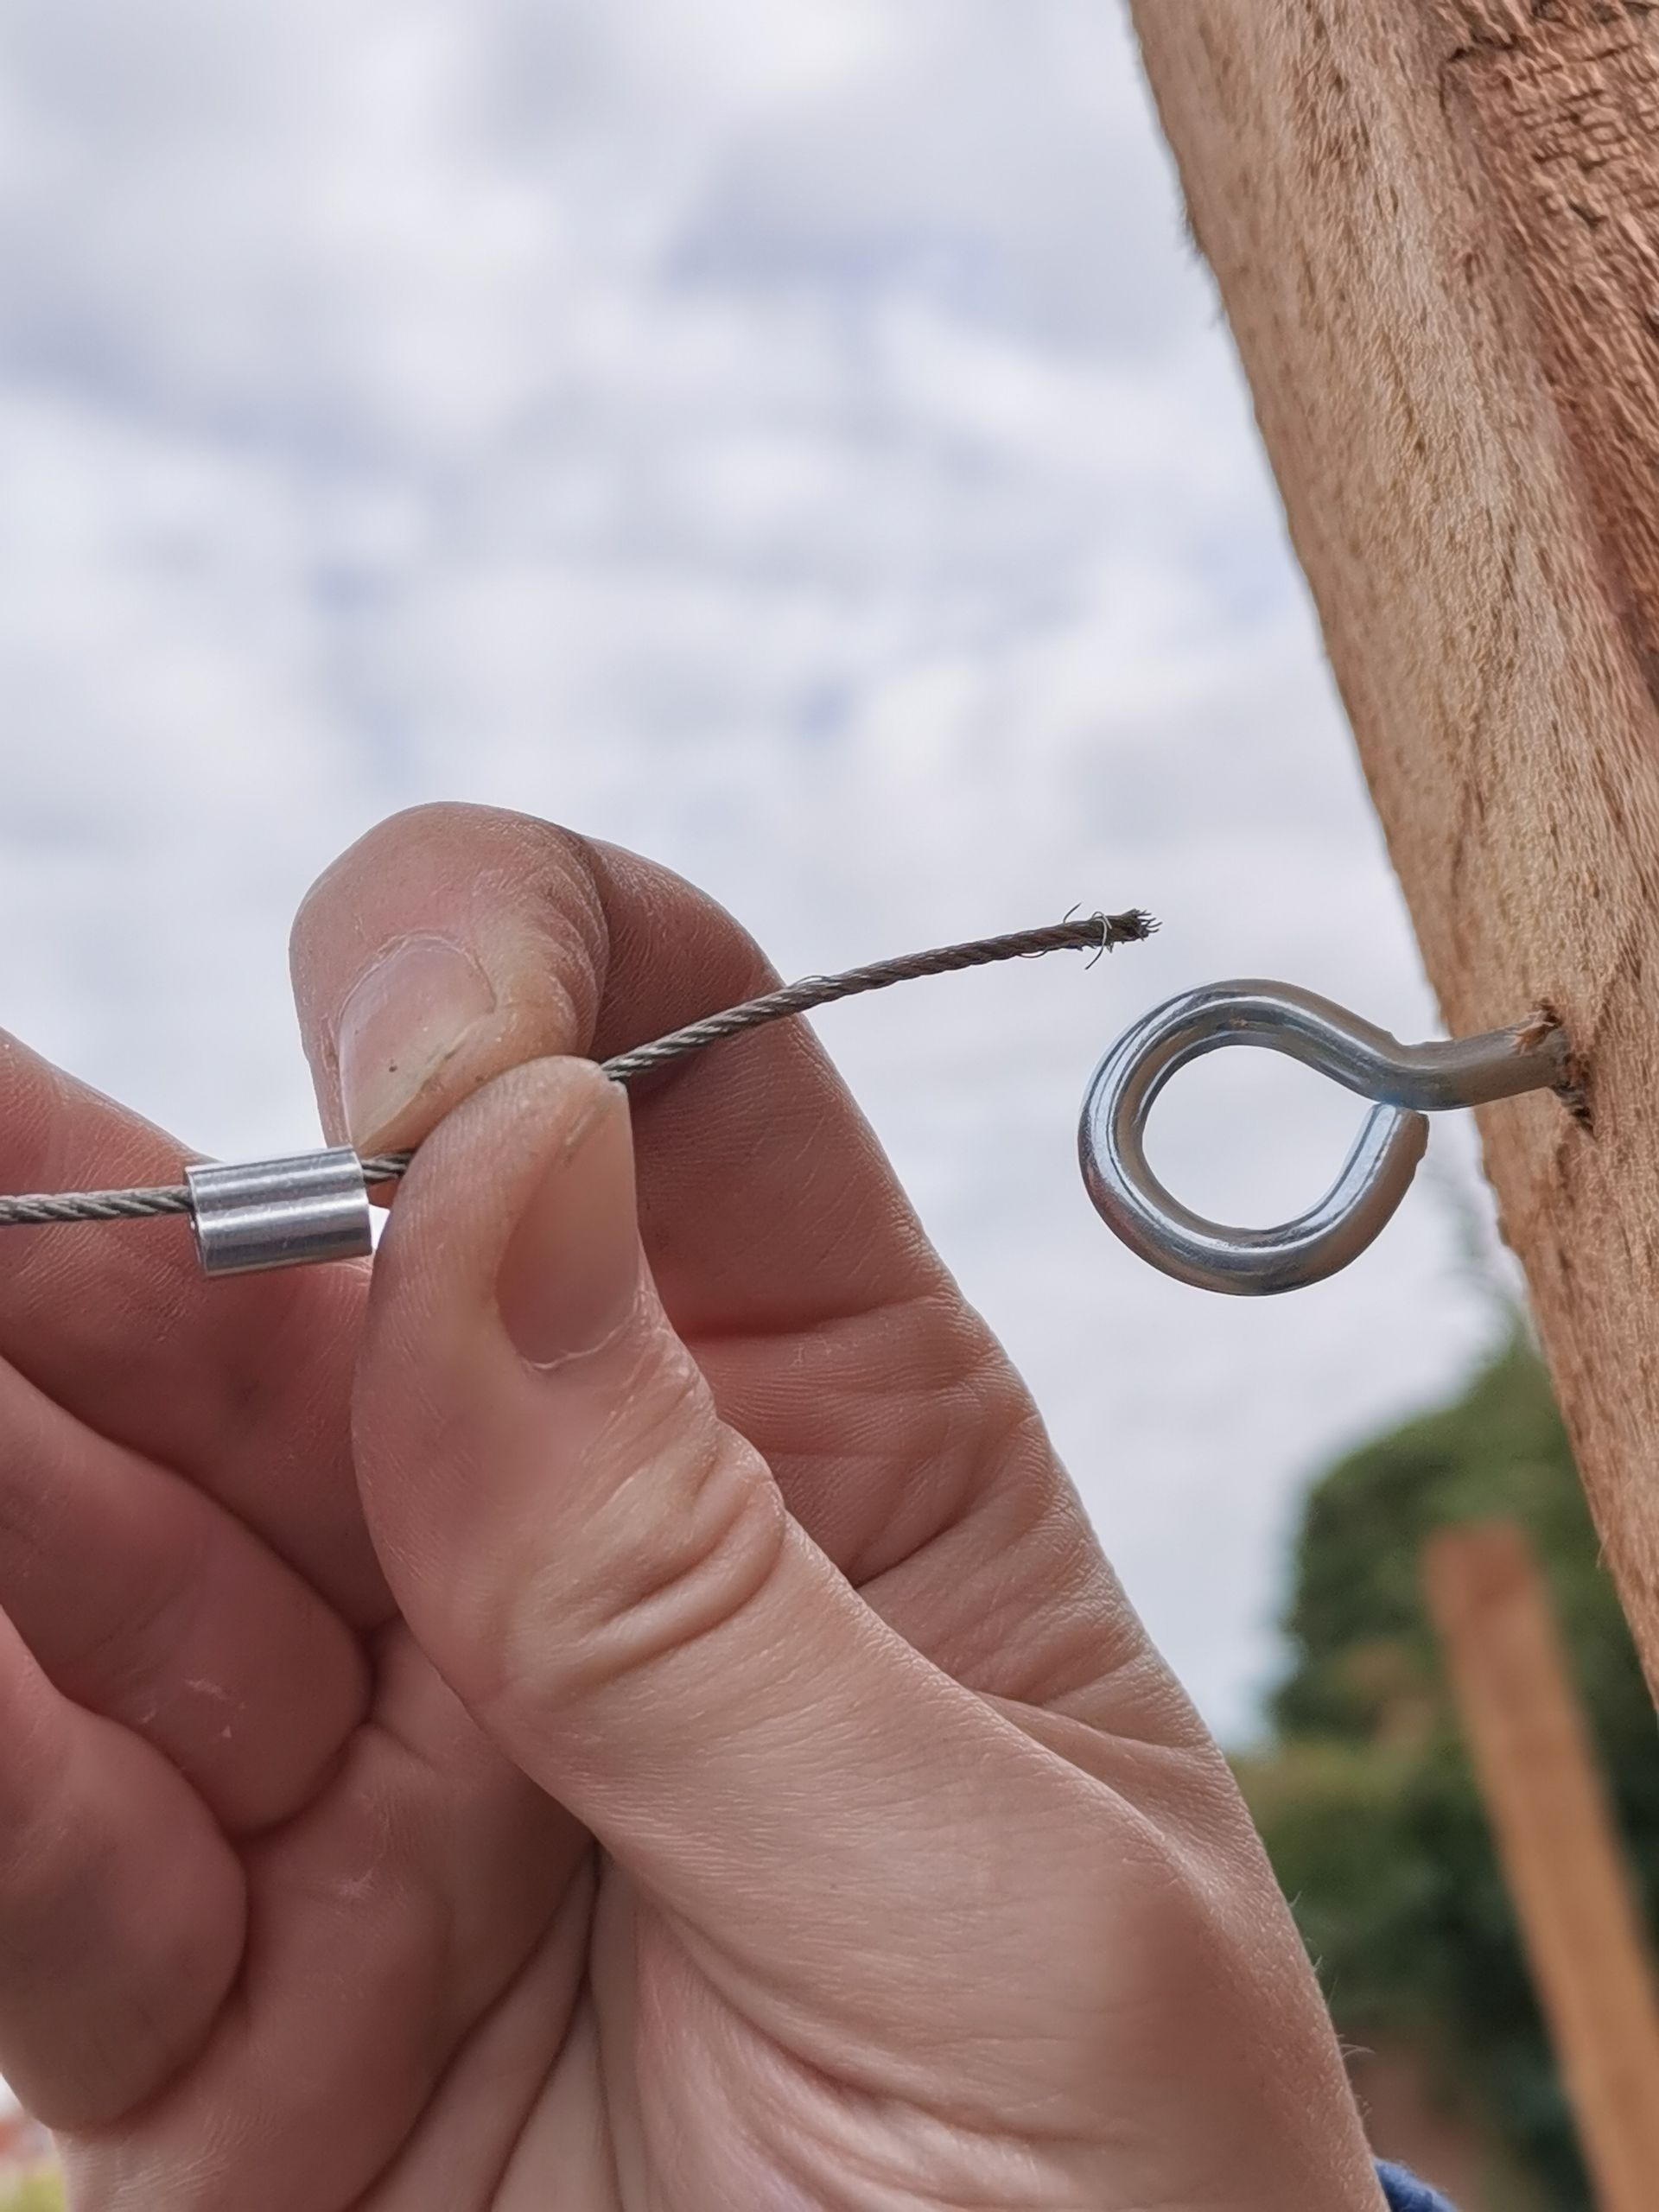
Step 1: slide the compression fitting onto the cable
Only an idiot would forget to do this. Luckily, I remembered first time on the last post.
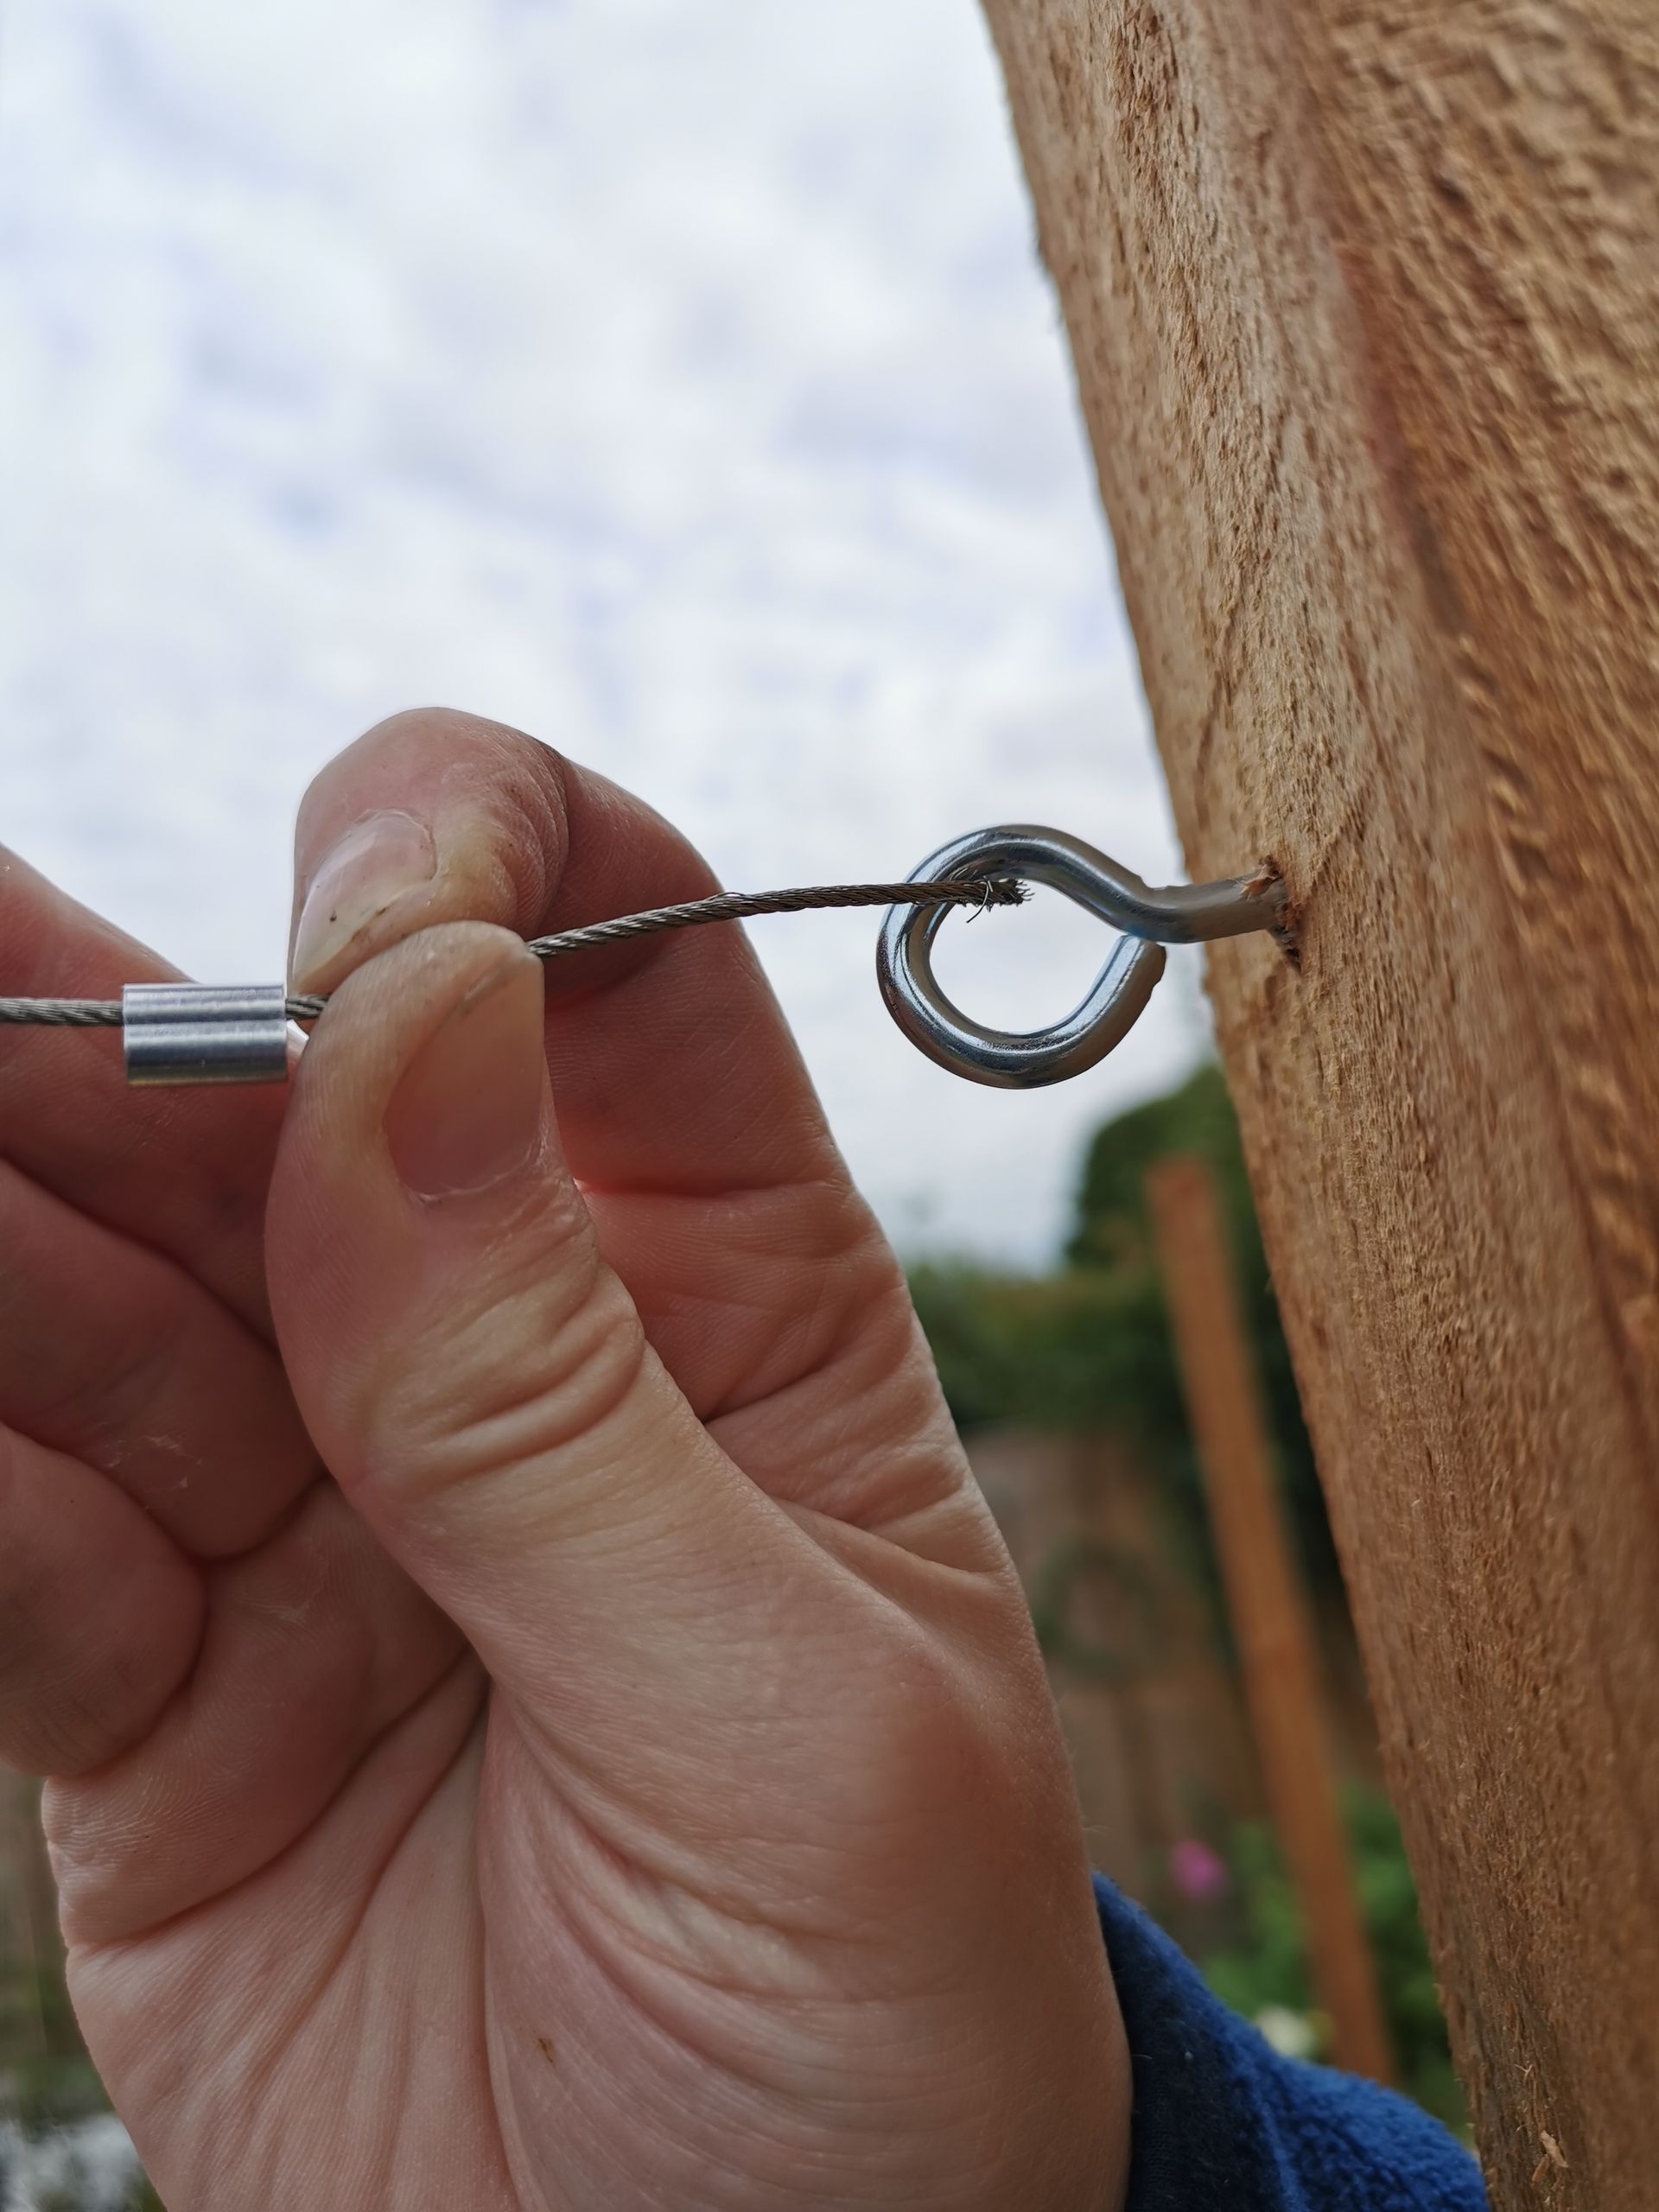
Step 2: pass the cable through the eyelet
Either direction is fine.
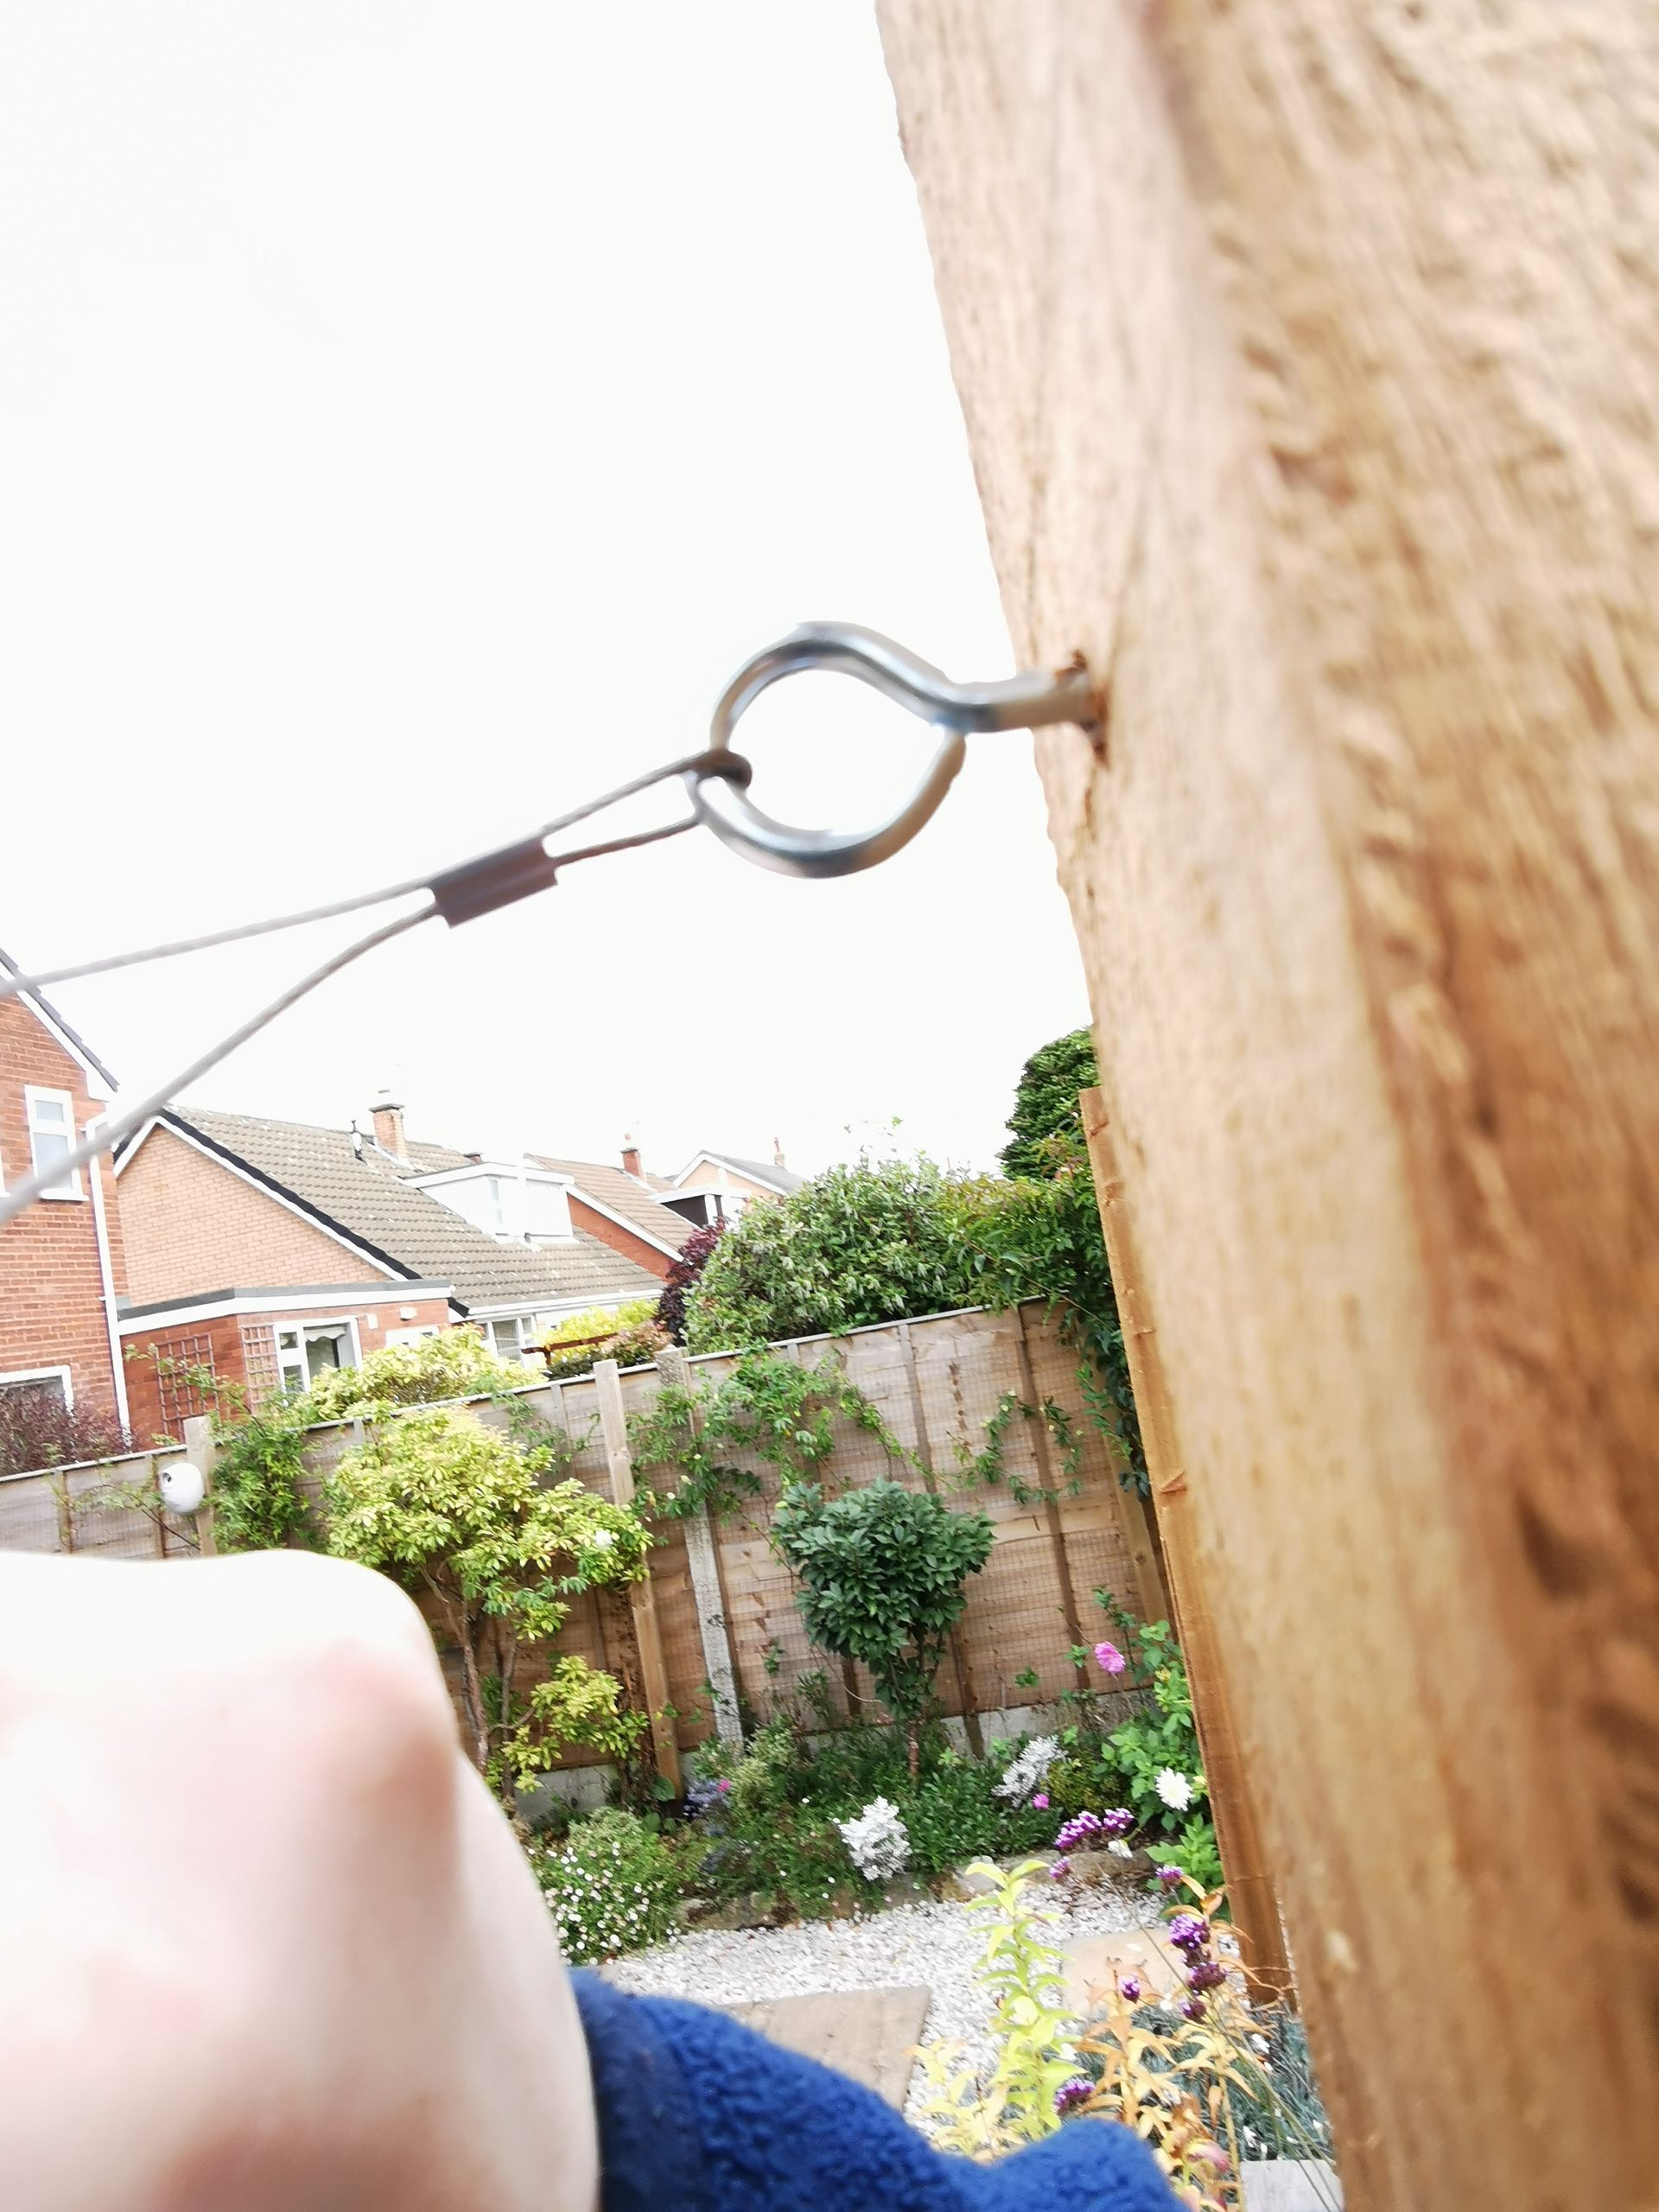
Step 3: Put the cable back through the compression fitting, tighten it up, and crimp the connector
Slide it tight and then crimp the hell out of it to secure it. Test it by giving it a really good pull to make sure it won't slide.
With the top end secure, tighten the cable systematically all the way through each eyelet, keeping that tension up. At the bottom, I used a screw-tightening tensioner fitting instead of a direct fastening although that's a nicety. I liked the idea of being able to tighten it up once it had settled, though. If you do, definitely make sure to loosen that to the maximum extent before you crimp the cable through, though. Only an idiot would do something like that. Luckily, I only needed once practice go to realise that.
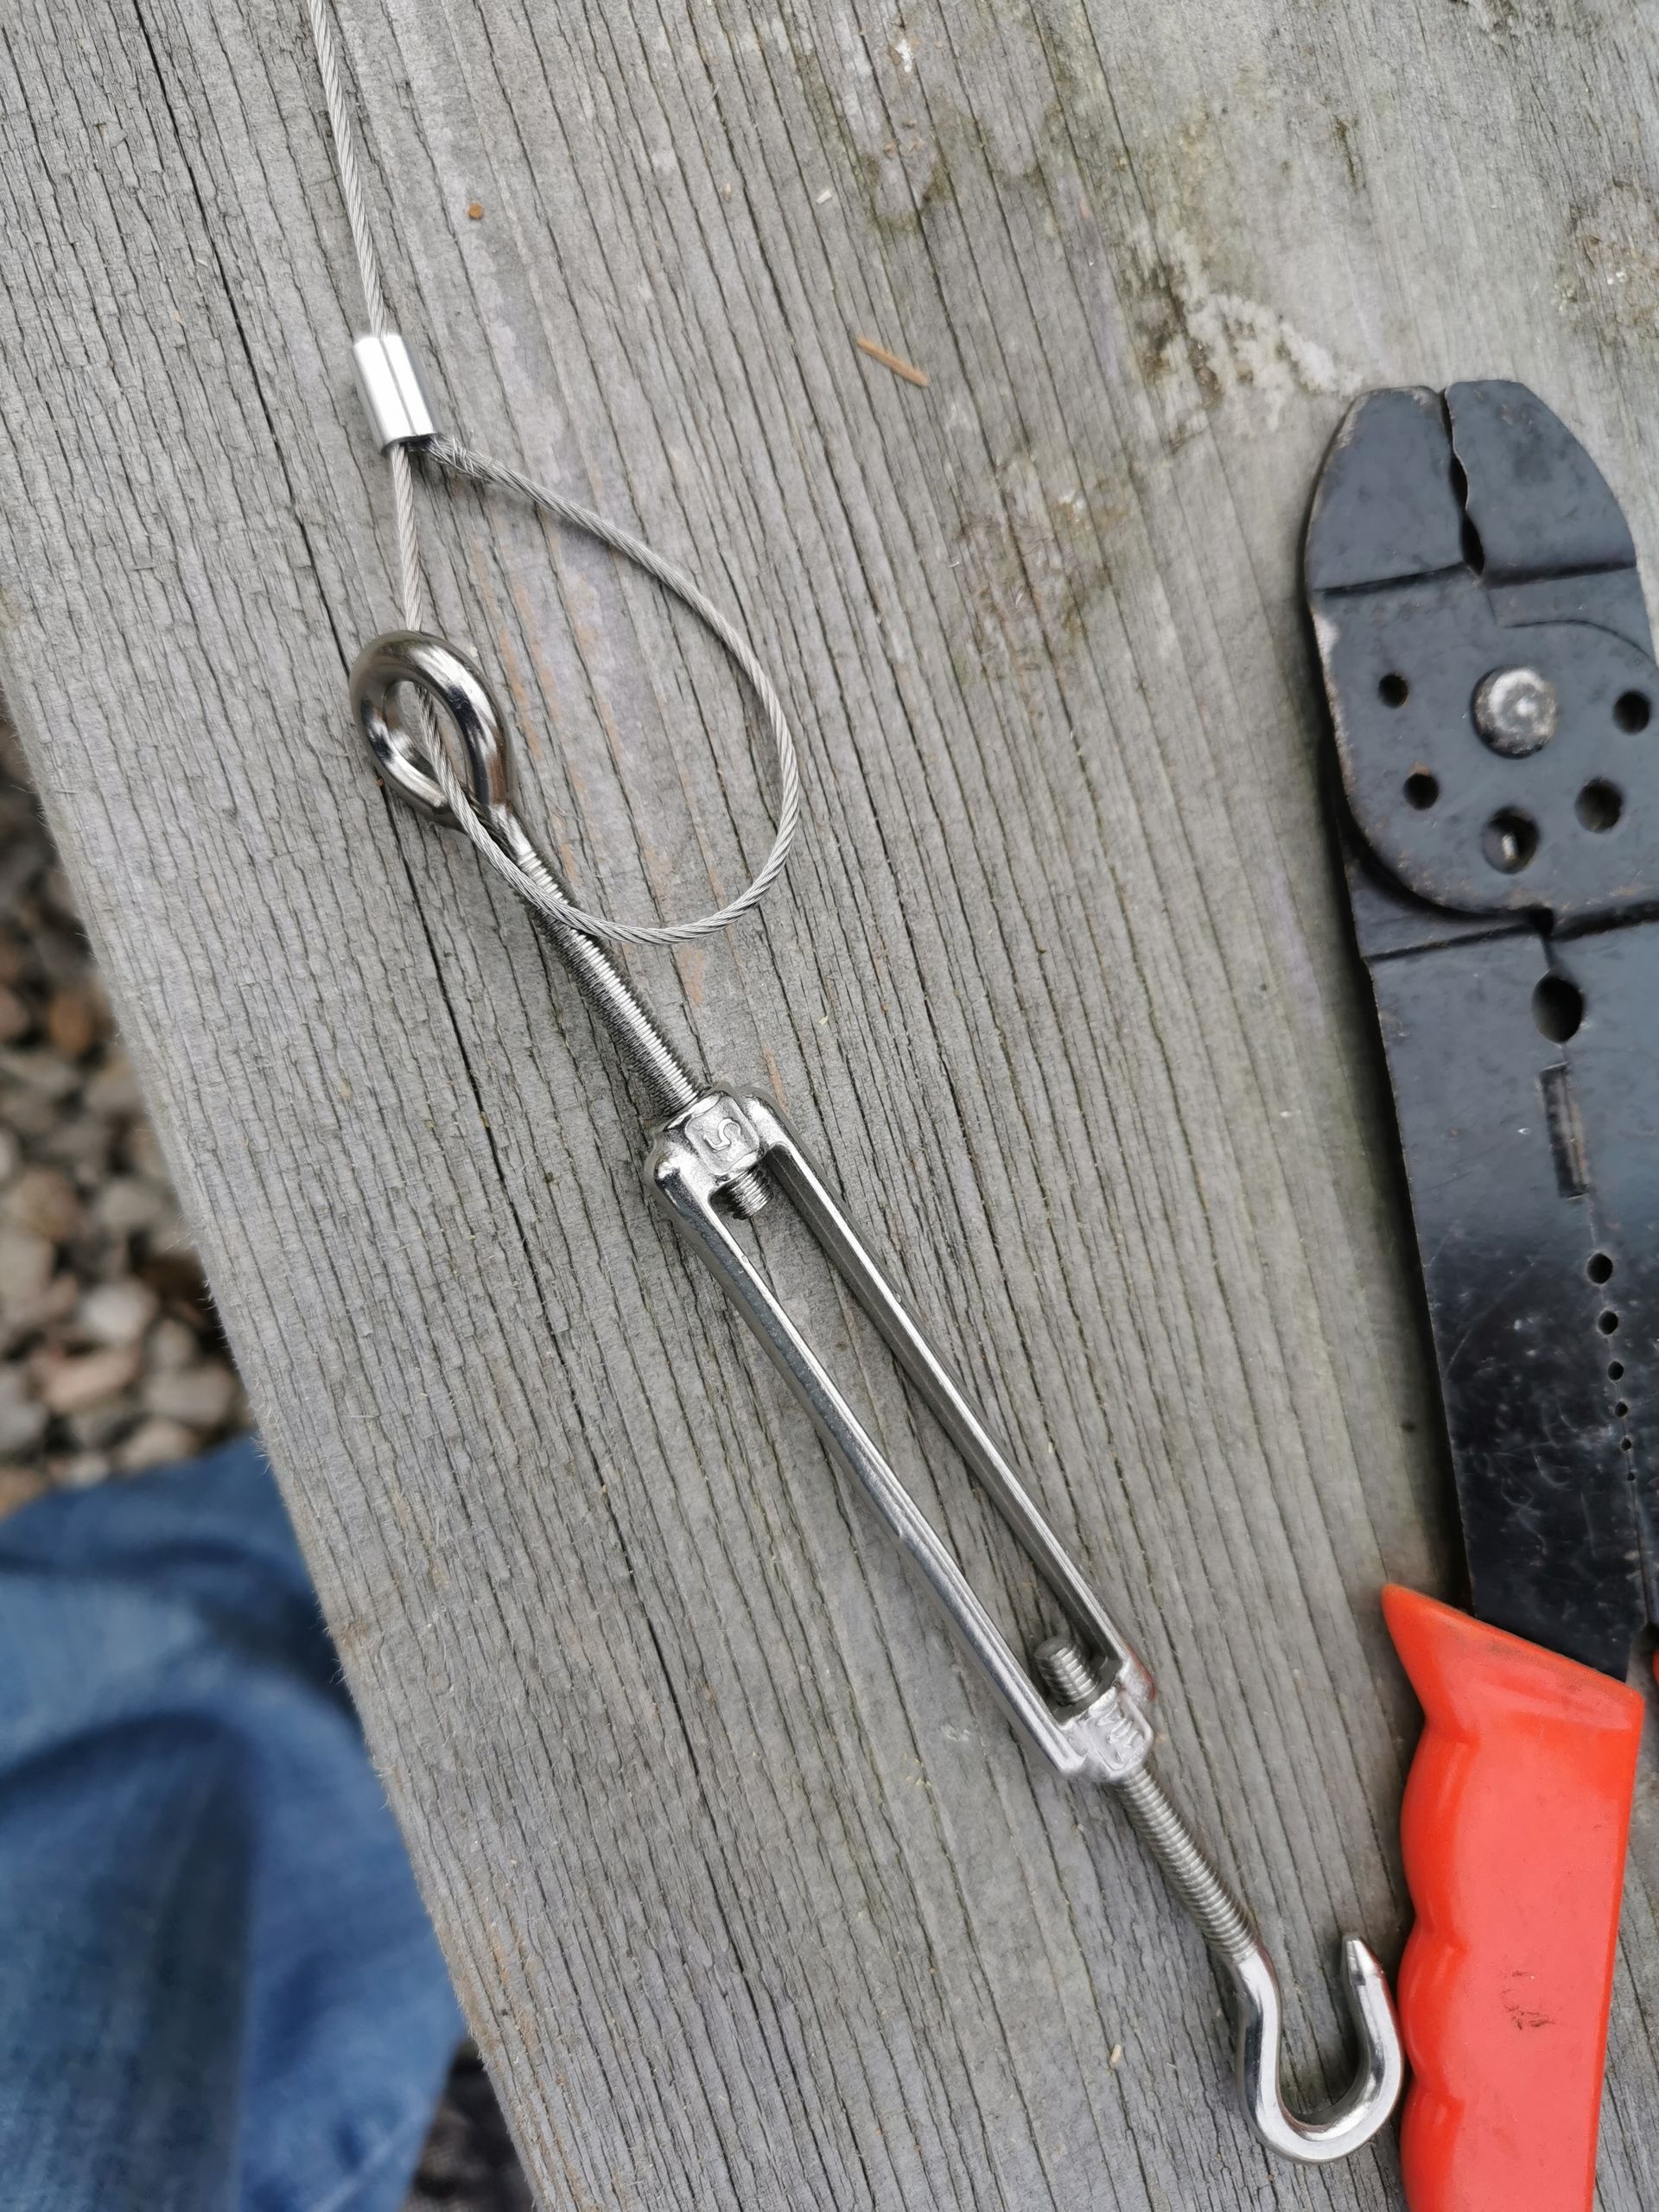
Do bear in mind that this still requires tensioning before crimping to make sure that the wire is taut
Hook the cable tensioner to the final eyelet, and tighten it up.
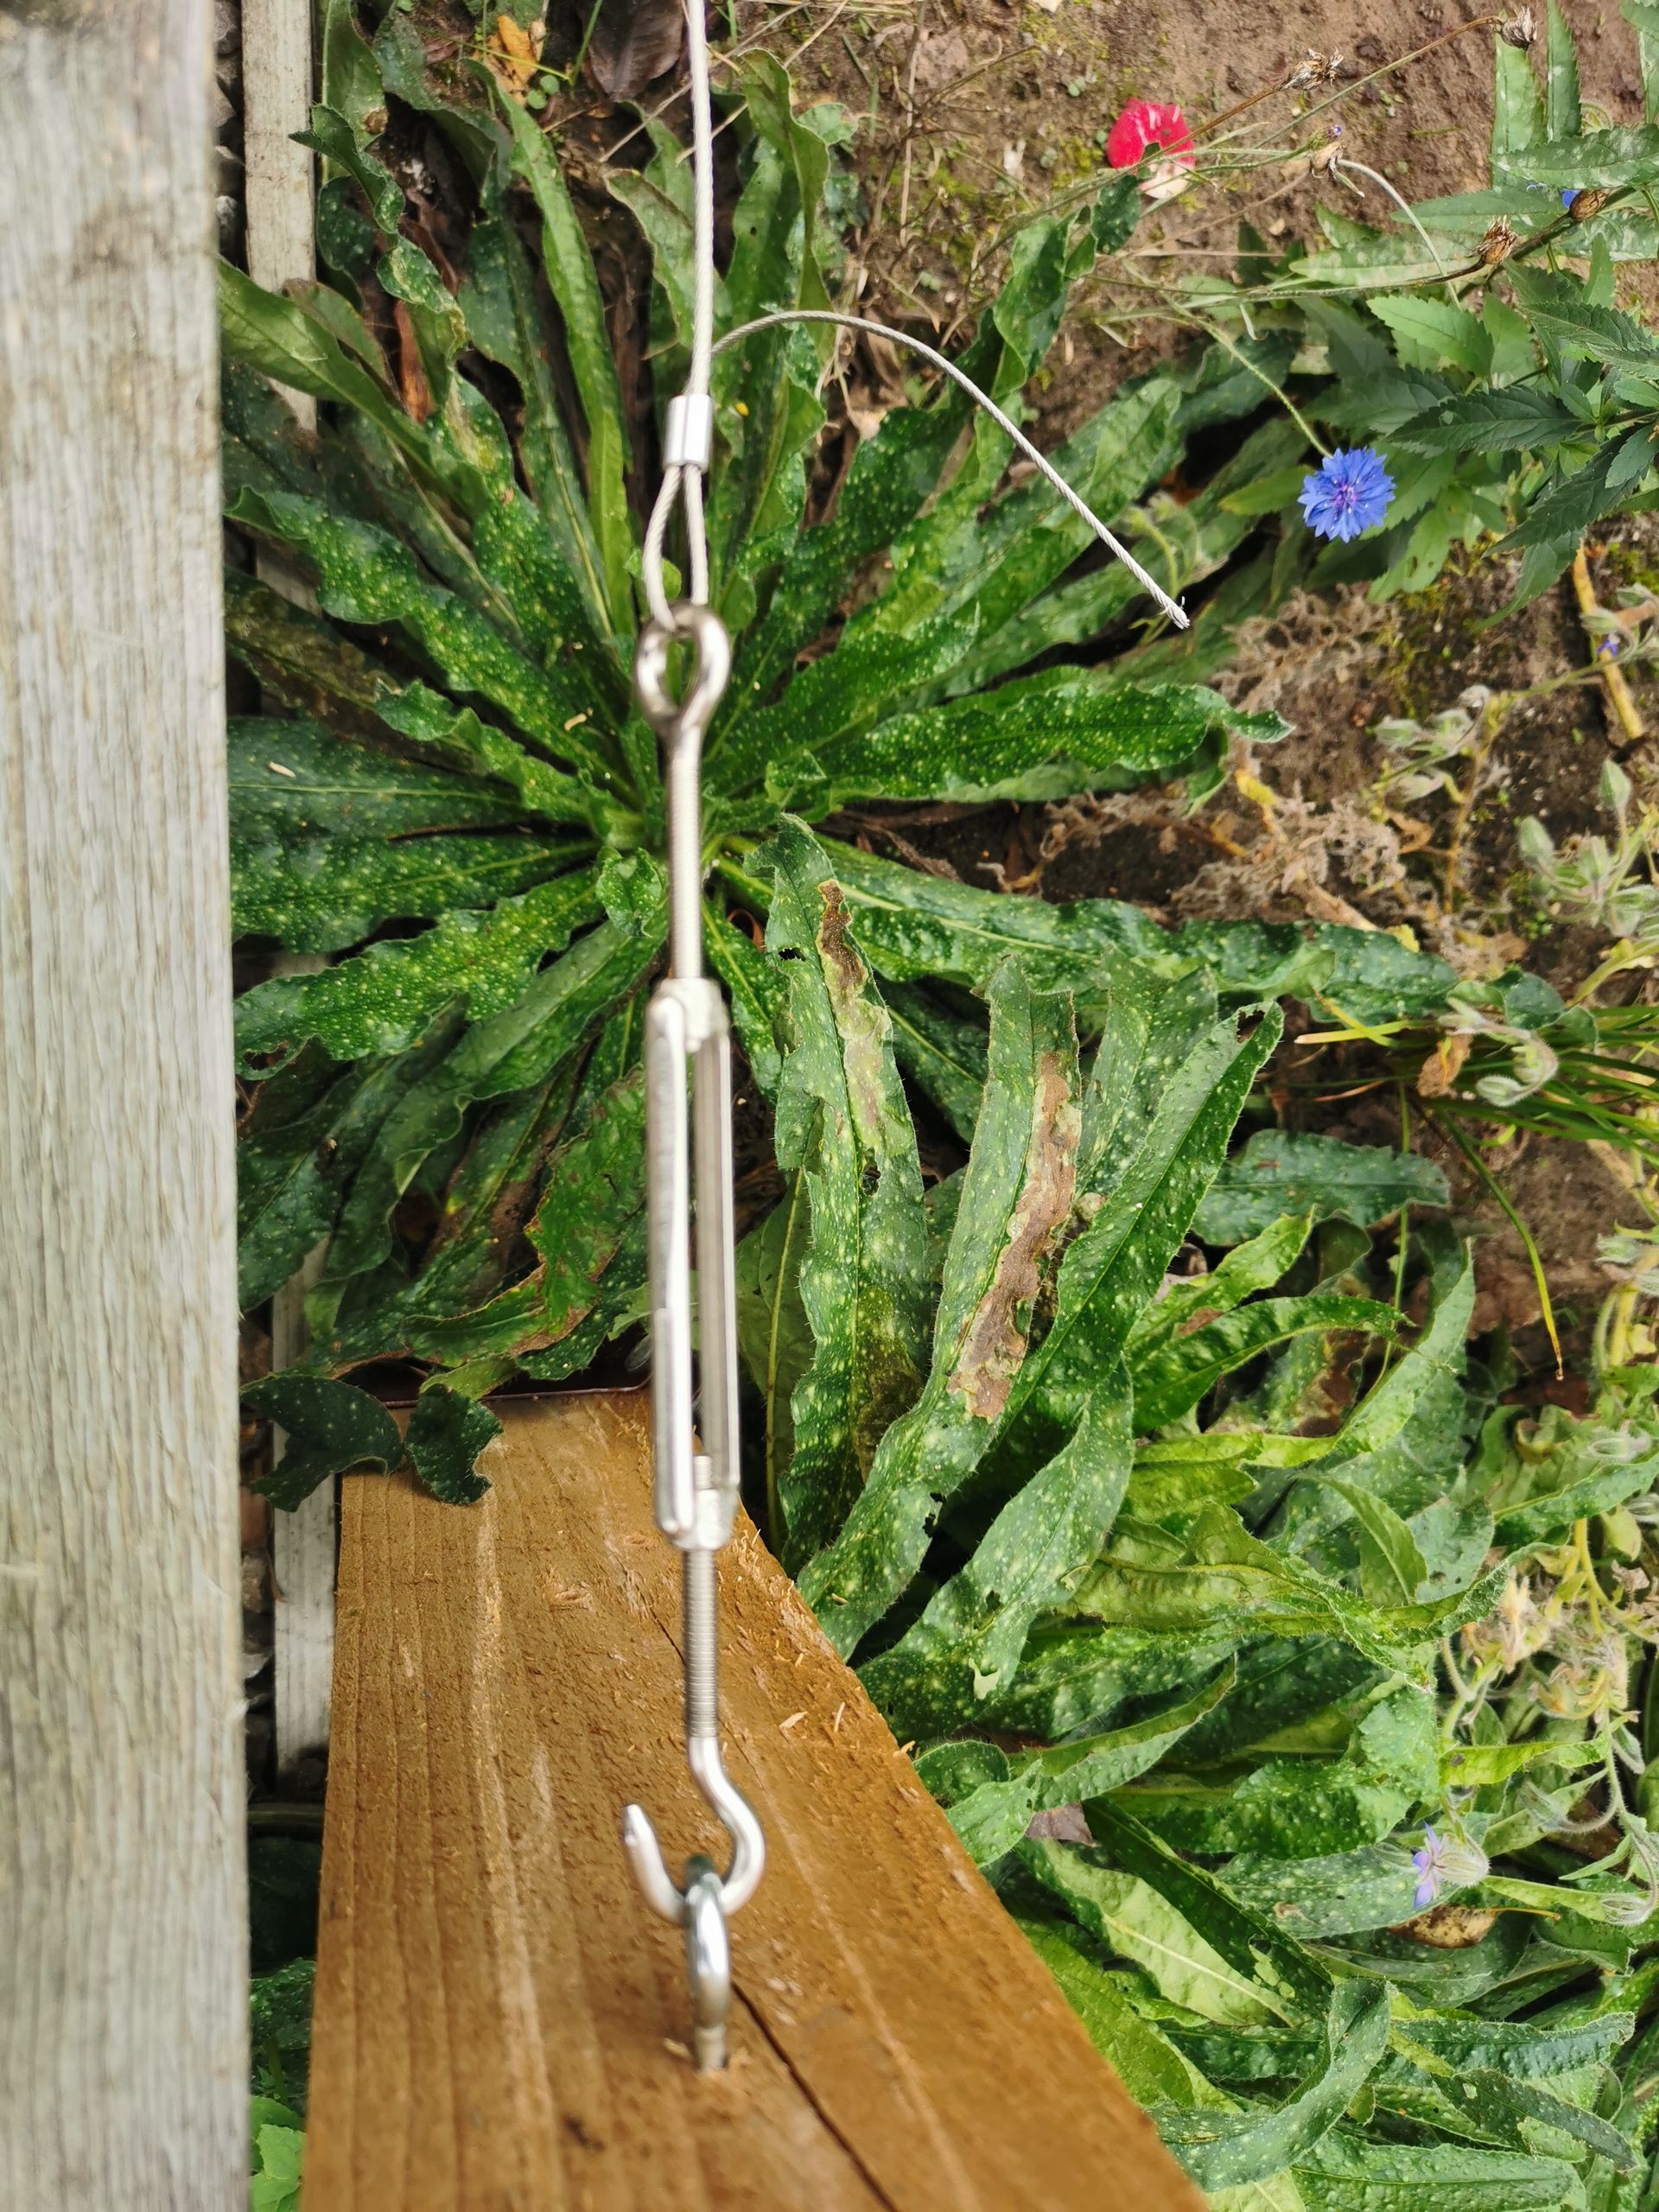
Tighten as much as you can by hand
I did this over the two largest expanses of the uprights, and one smaller section near the house. Longer term, I'll probably do more cabling on the other uprights as well.
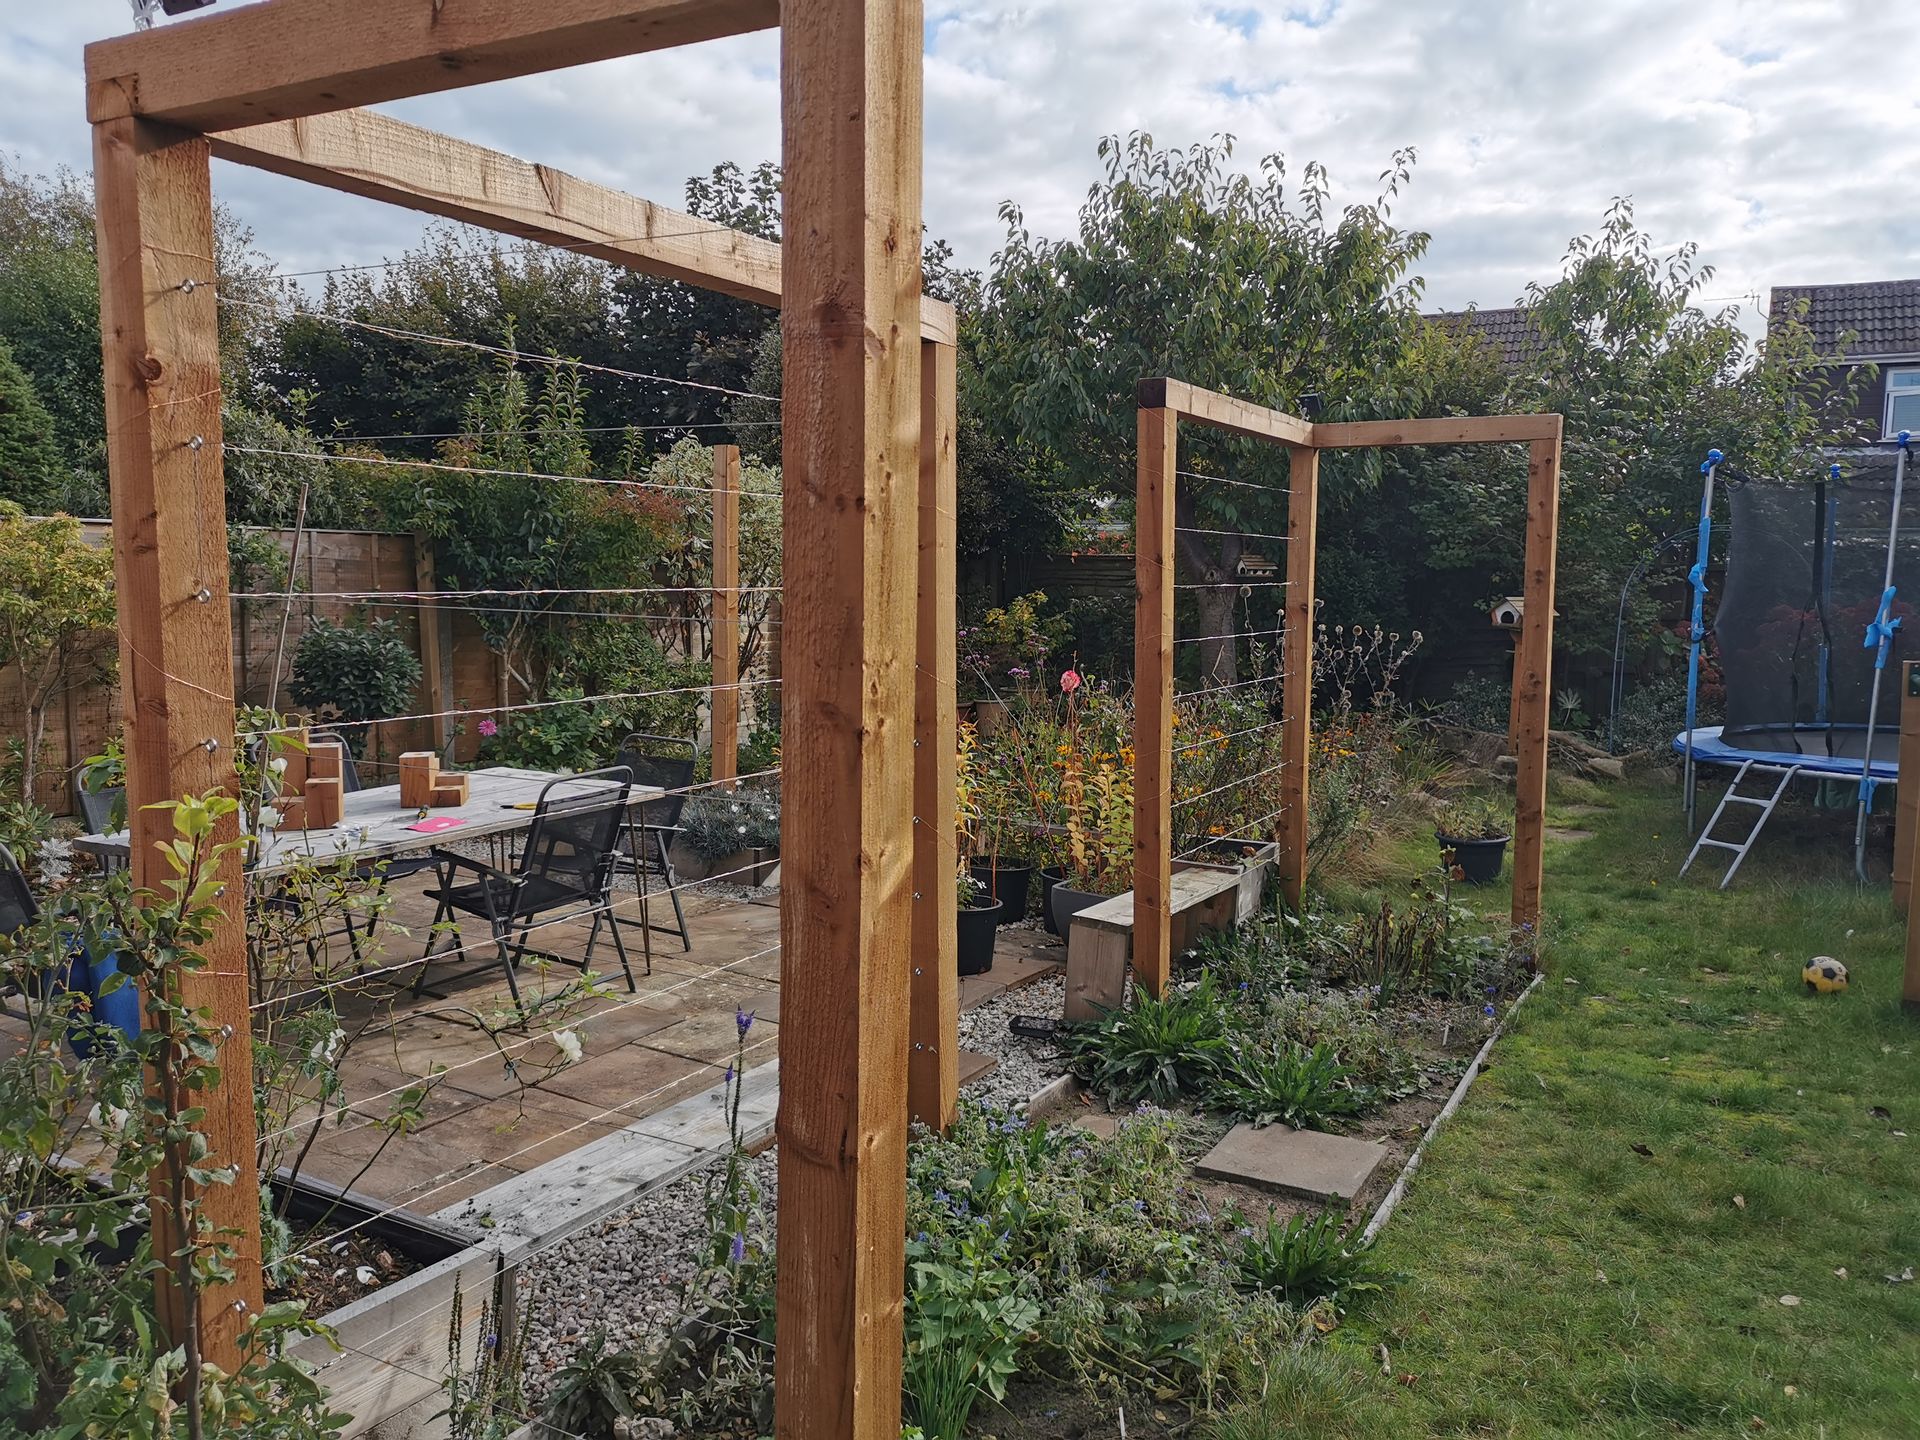
Here's the final result
Just for fun, I also bought some tiny low-power outdoor solar lighting and stuck the panel on the top of the uprights and then wrapped it around the cable. It's pretty useless in terms of lighting anything up, but it looks pretty when they turn on.
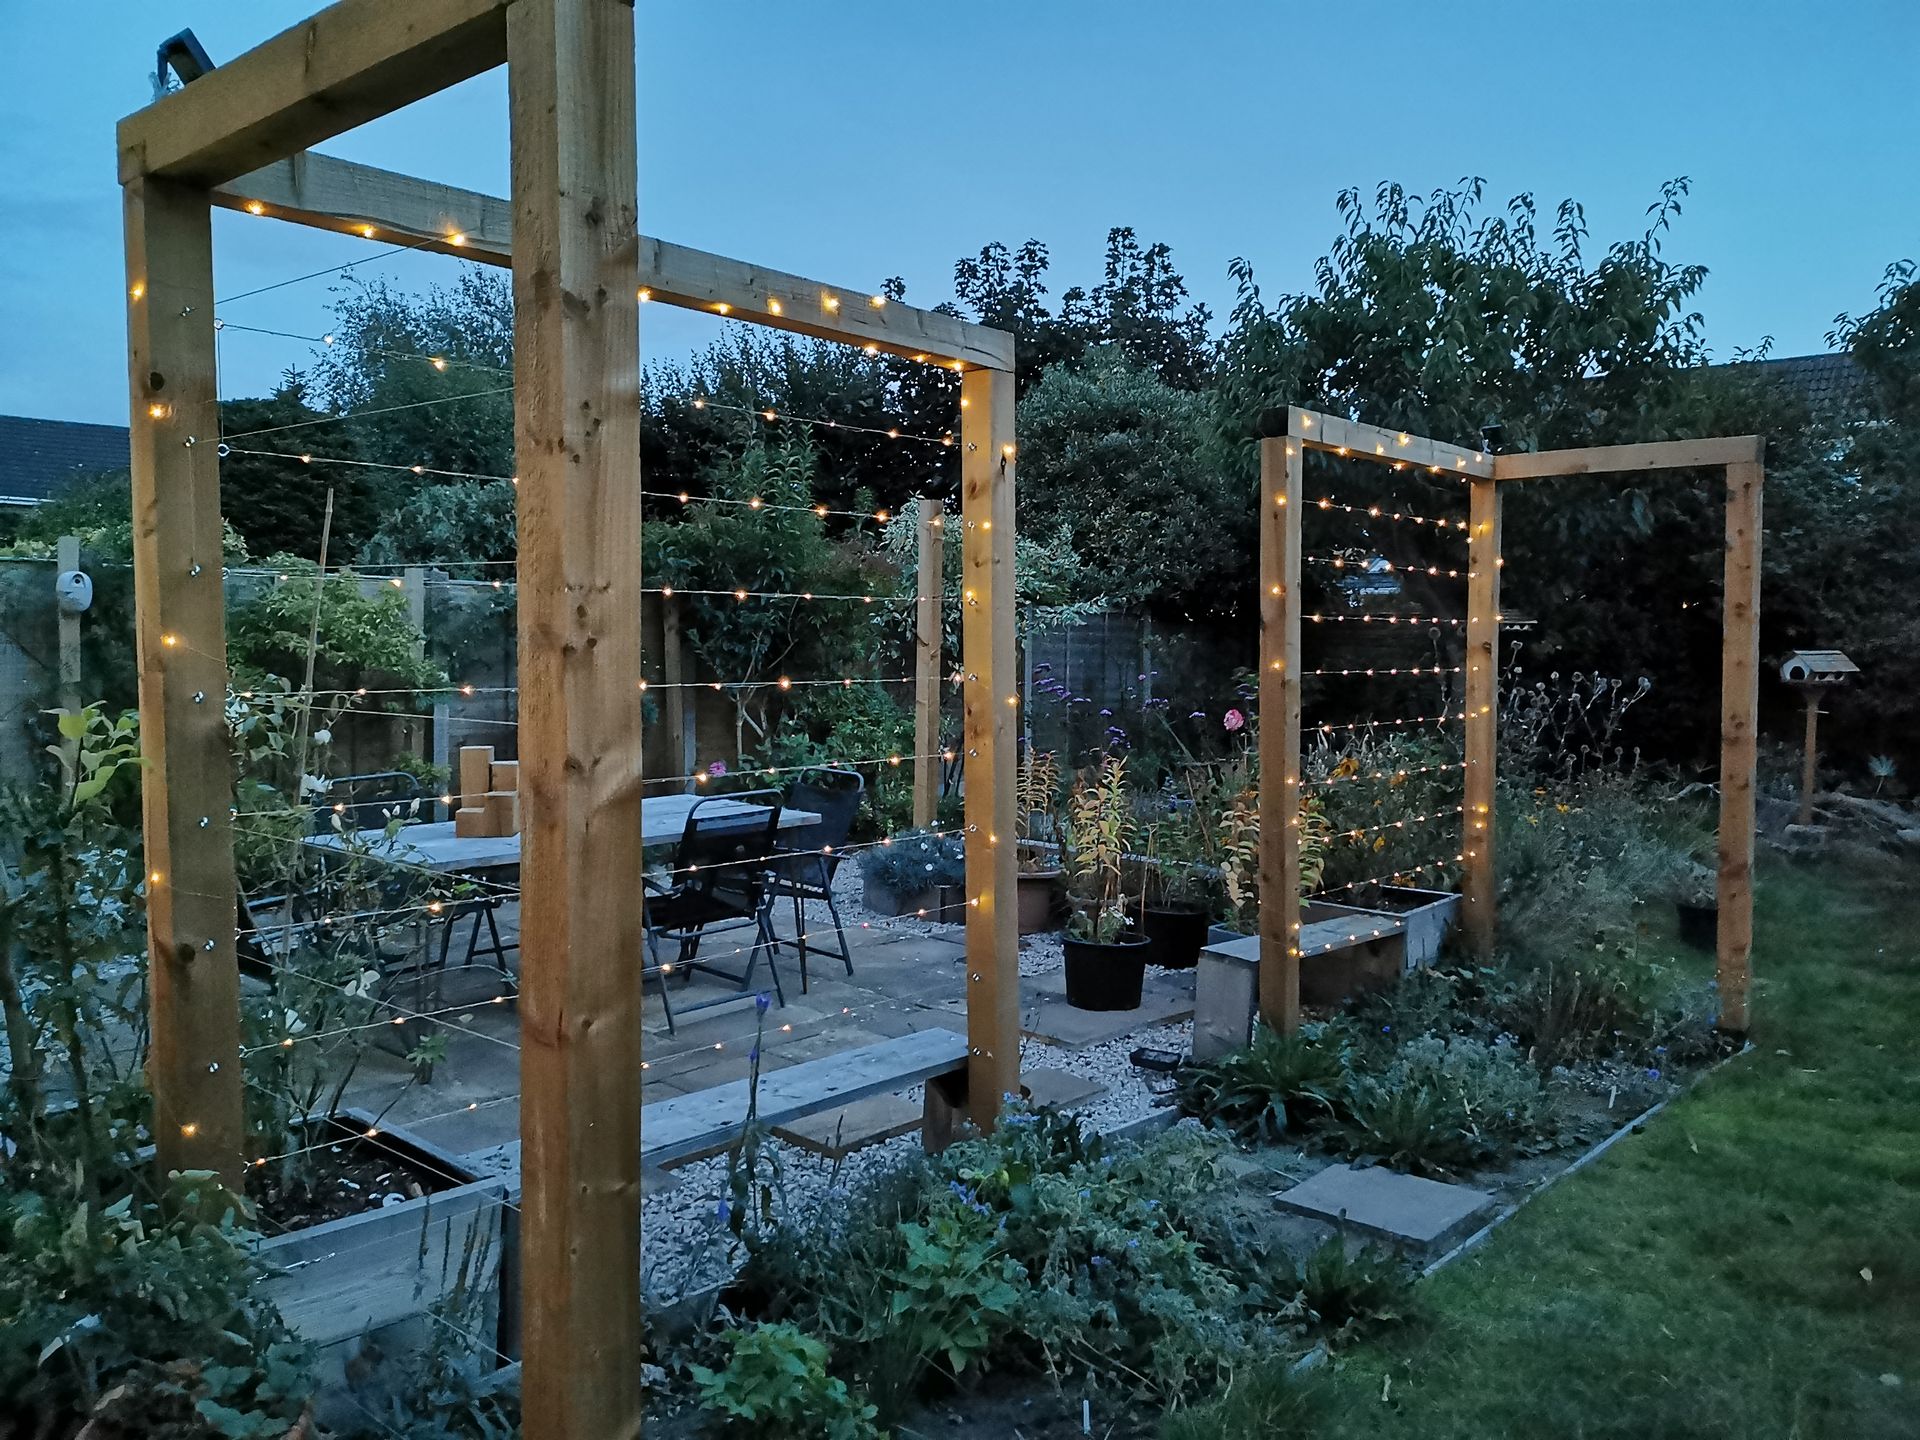
And here it is when the solar lighting turned on
One thing I would say, though, is that the distance between the two panels is sufficiently large that, during the winter months, the one nearest the pond (the right of the picture) often doesn't get enough power to light up. I'm tempted to move the panel to the other end of the top beam and re-run the lighting to see if that helps any, but it's certainly worth bearing in mind if you try the solar thing yourself.
Published
Last Post: Introducing Some Vertical Height
How about sharing this article on your favorite social media network if you've found it interesting? For feedback, please get in touch via Twitter or Instagram